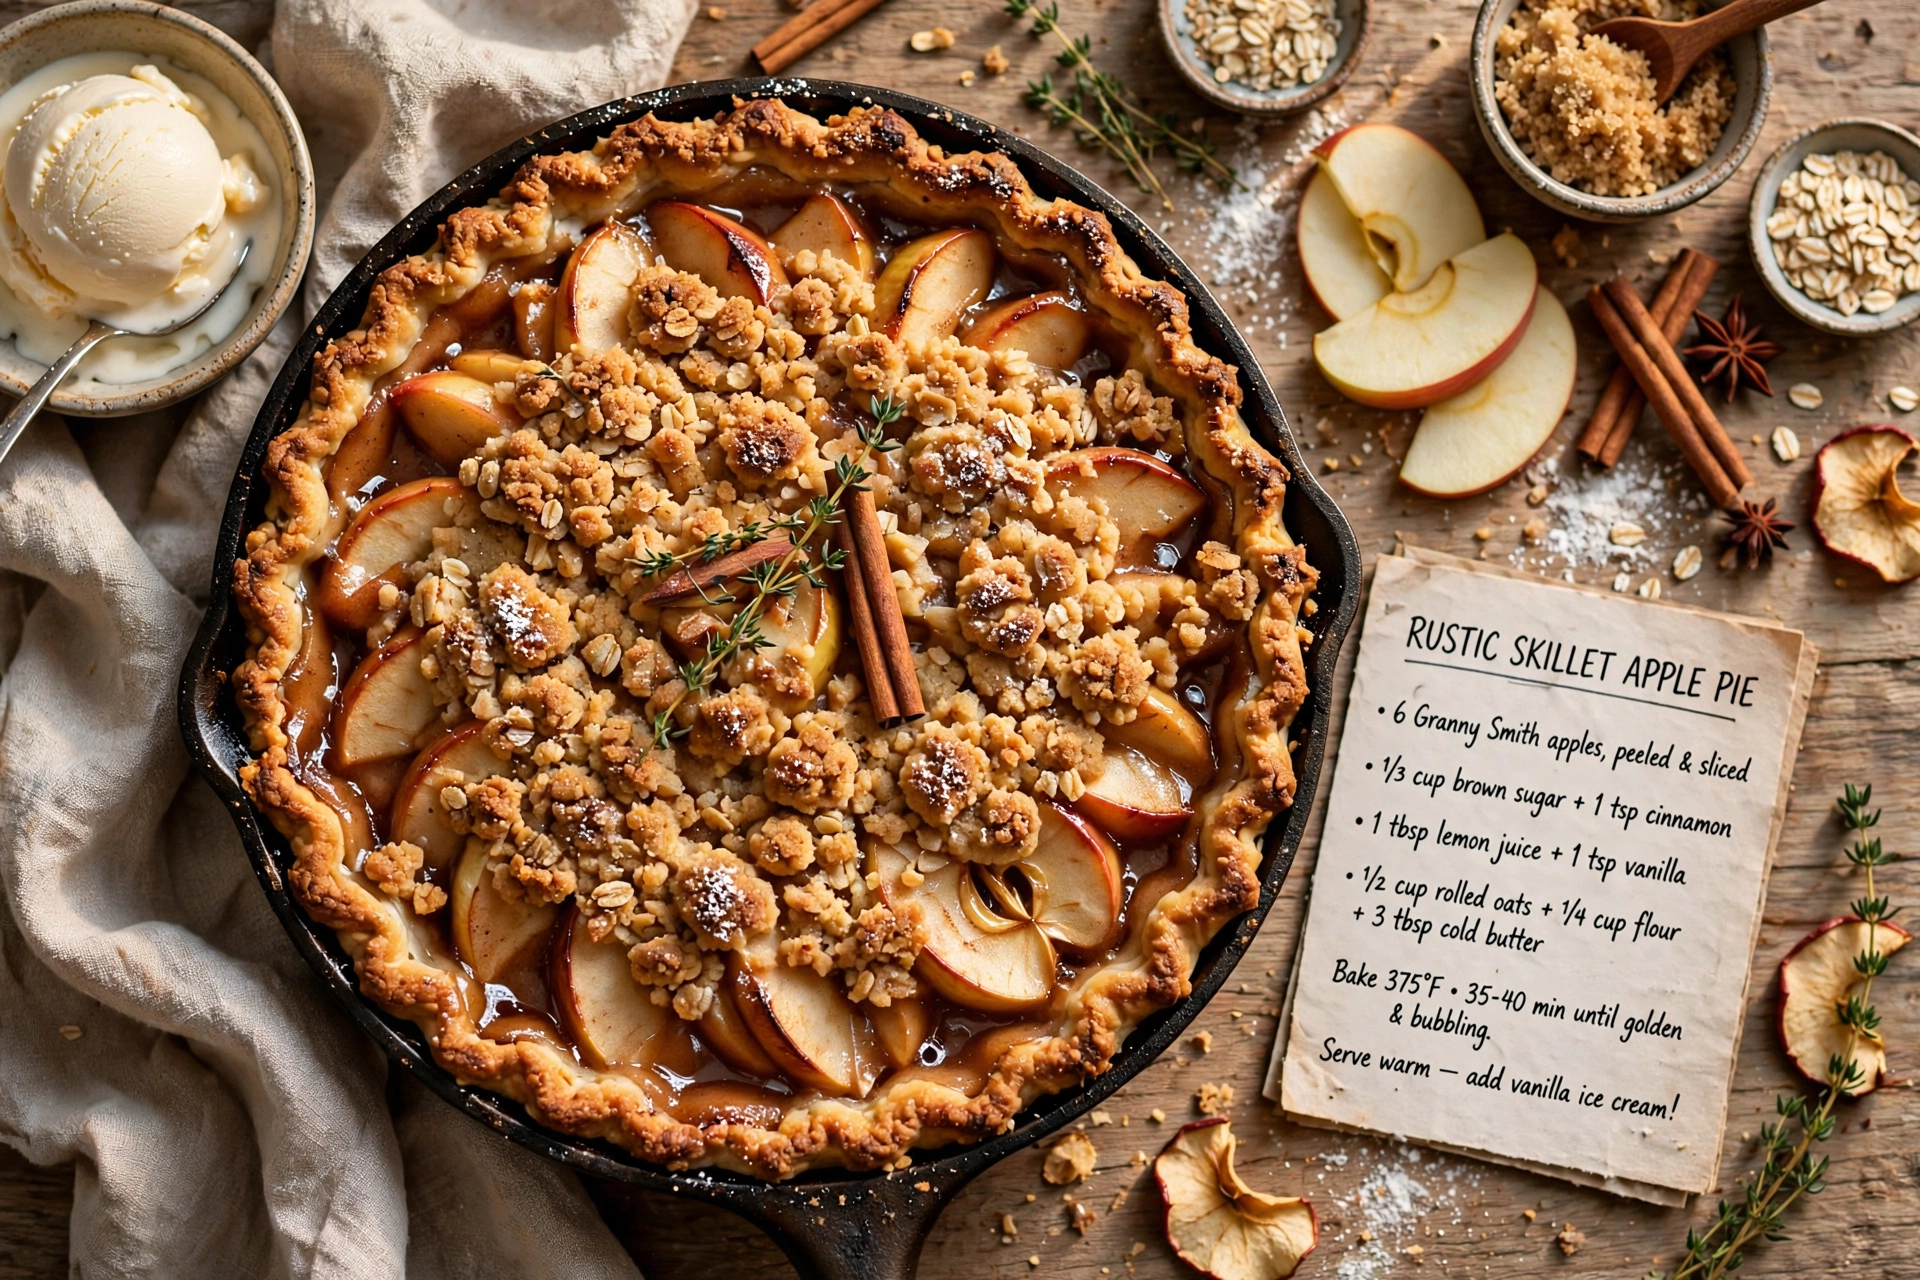
Rustic Skillet Apple Pie
This rustic skillet apple pie bakes up bubbling and golden in a cast iron pan, with a flaky, buttery crust and warmly spiced apples in every bite.

A Skillet Apple Pie Worth Falling For
There is something about a rustic skillet apple pie that feels more honest than its fussy, fluted-edge cousin. The crust puffs up craggy and golden around the sides of a cast iron pan, the filling bubbles over just enough to caramelize against hot metal, and nobody expects it to look perfect. This is the kind of dessert that shows up at a potluck straight from the oven, still warm, and disappears in minutes.
If you have ever admired a Pioneer Woman skillet apple pie or wondered how to turn a classic stove top apple pie filling into something a little more showstopping, this recipe blends both worlds. It is a true apple pie skillet recipe, built for a well-seasoned cast iron pan and stacked with warmly spiced apples under a buttery, hand-crimped crust.
Before we get cooking, the right tools and ingredients make a real difference here. A sturdy, well-seasoned cast iron skillet is what gives this pie its signature caramelized bottom crust, and a good pastry cutter makes quick work of a flaky dough without overworking it. These are the products that genuinely help this recipe shine:
Why Cast Iron Makes This Pie Special
Baking a pie directly in cast iron isn't just for looks. The heavy pan holds and distributes heat evenly, so the bottom crust actually browns and crisps instead of turning soggy under all that juicy fruit. It is one of the easiest ways to upgrade your rustic pie recipes without any extra steps.
- The skillet's sides support a taller, more generous filling
- Heat retention means the pie stays warm at the table for longer
- The pan doubles as a serving dish, so there is one less thing to wash
Chef's Tip: Make sure your skillet is well-seasoned or lightly buttered before adding the crust. This keeps the bottom from sticking and helps that gorgeous caramelized edge release cleanly when you slice.
Choosing and Prepping Your Apples
Not all apples behave the same way in the oven. For the best texture, use a mix of tart, firm apples like Granny Smith alongside something naturally sweet like Honeycrisp or Braeburn. This balance keeps the filling from turning to mush while still delivering plenty of juicy, spiced flavor.
Tossing the apples with cornstarch and lemon juice before they hit the skillet does double duty. The cornstarch thickens the released juices into a glossy, clingy sauce instead of a watery puddle, and the lemon juice brightens the whole filling so it doesn't taste flat under all that apple pie spice.
Building the Layers
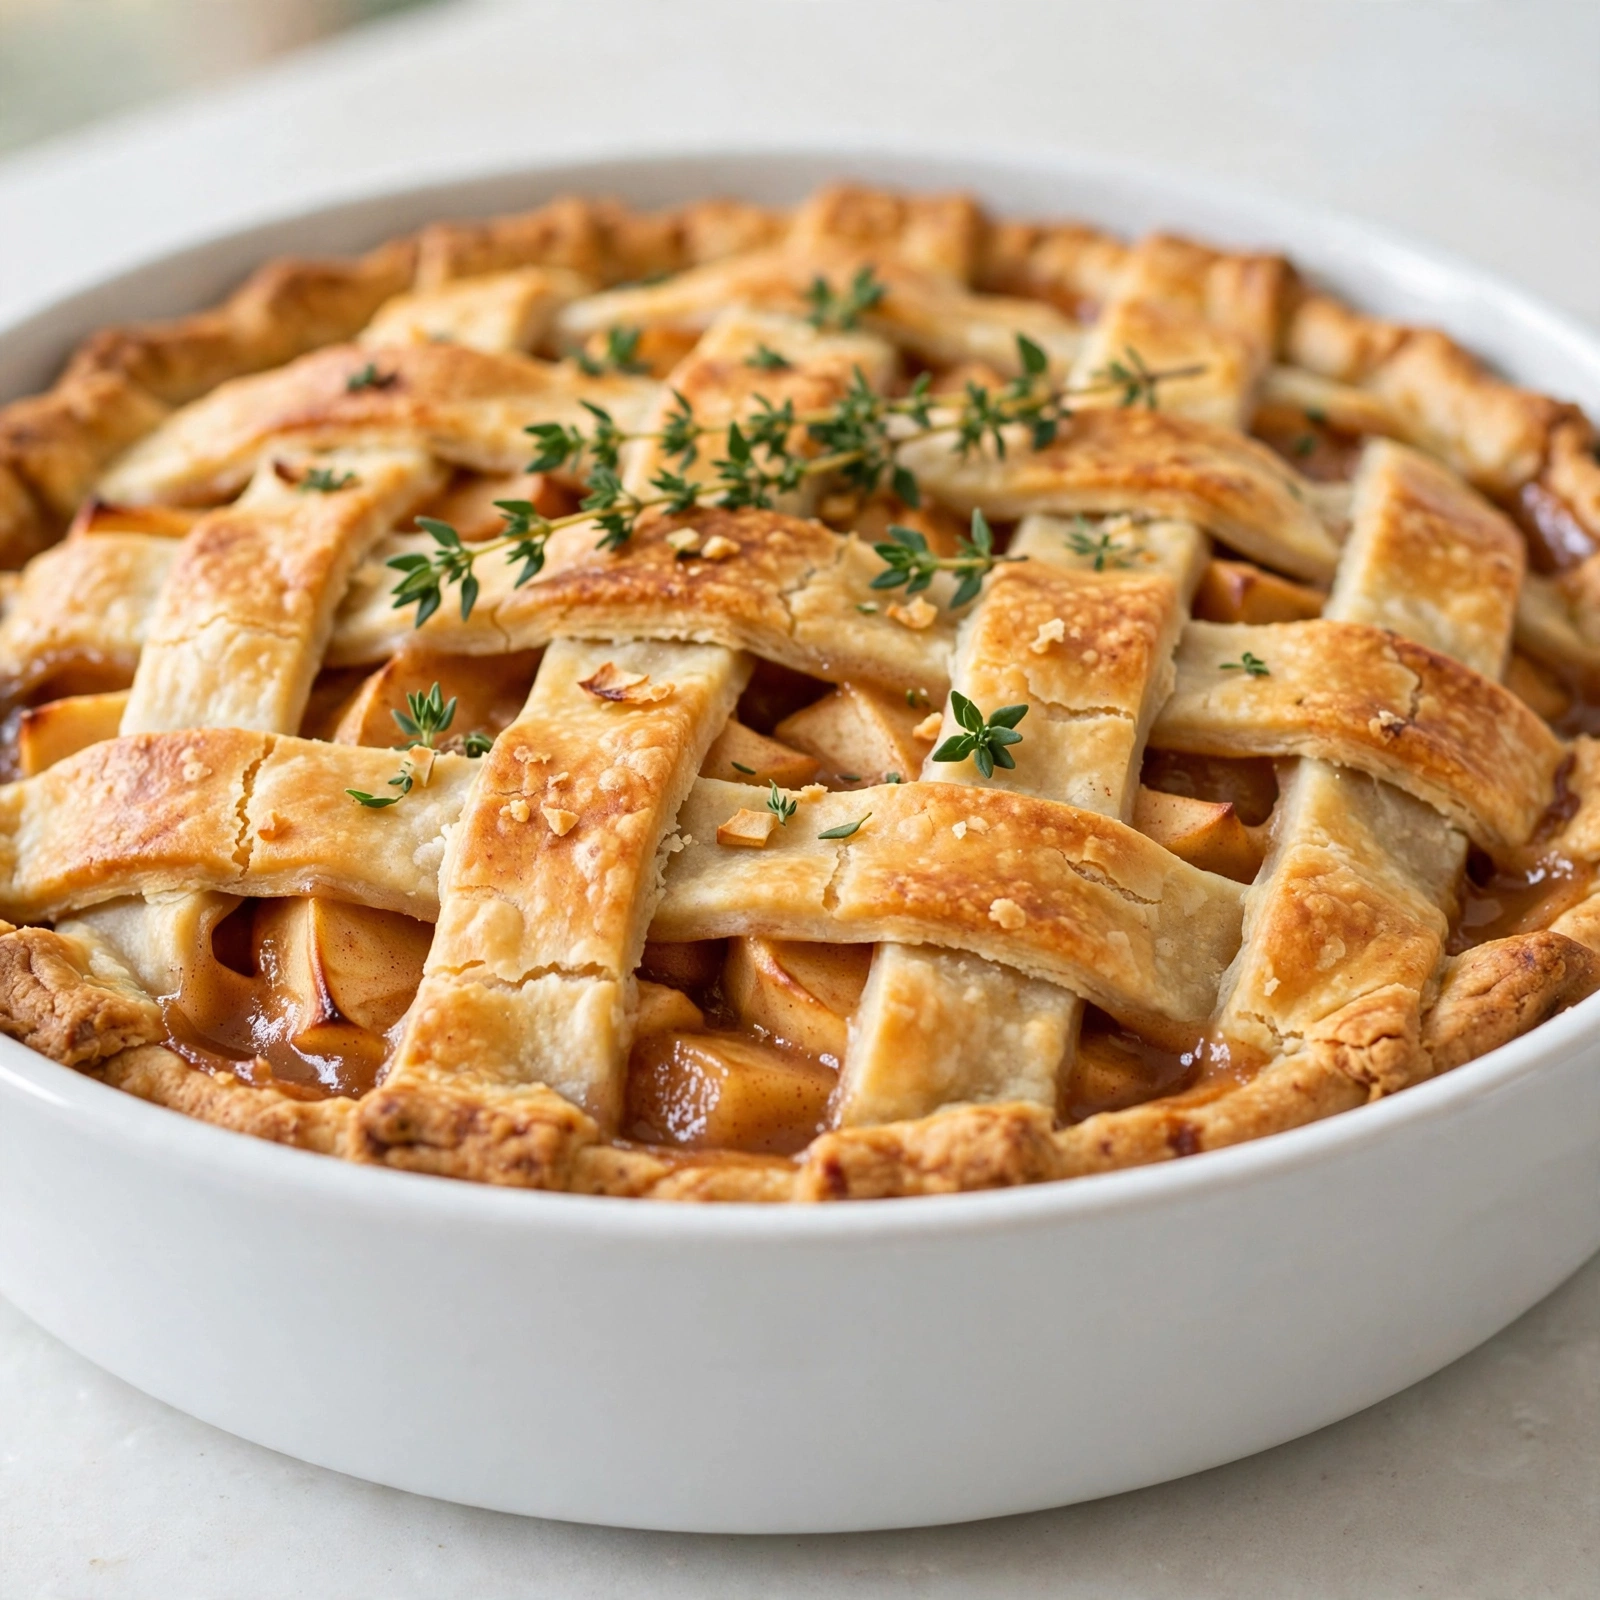
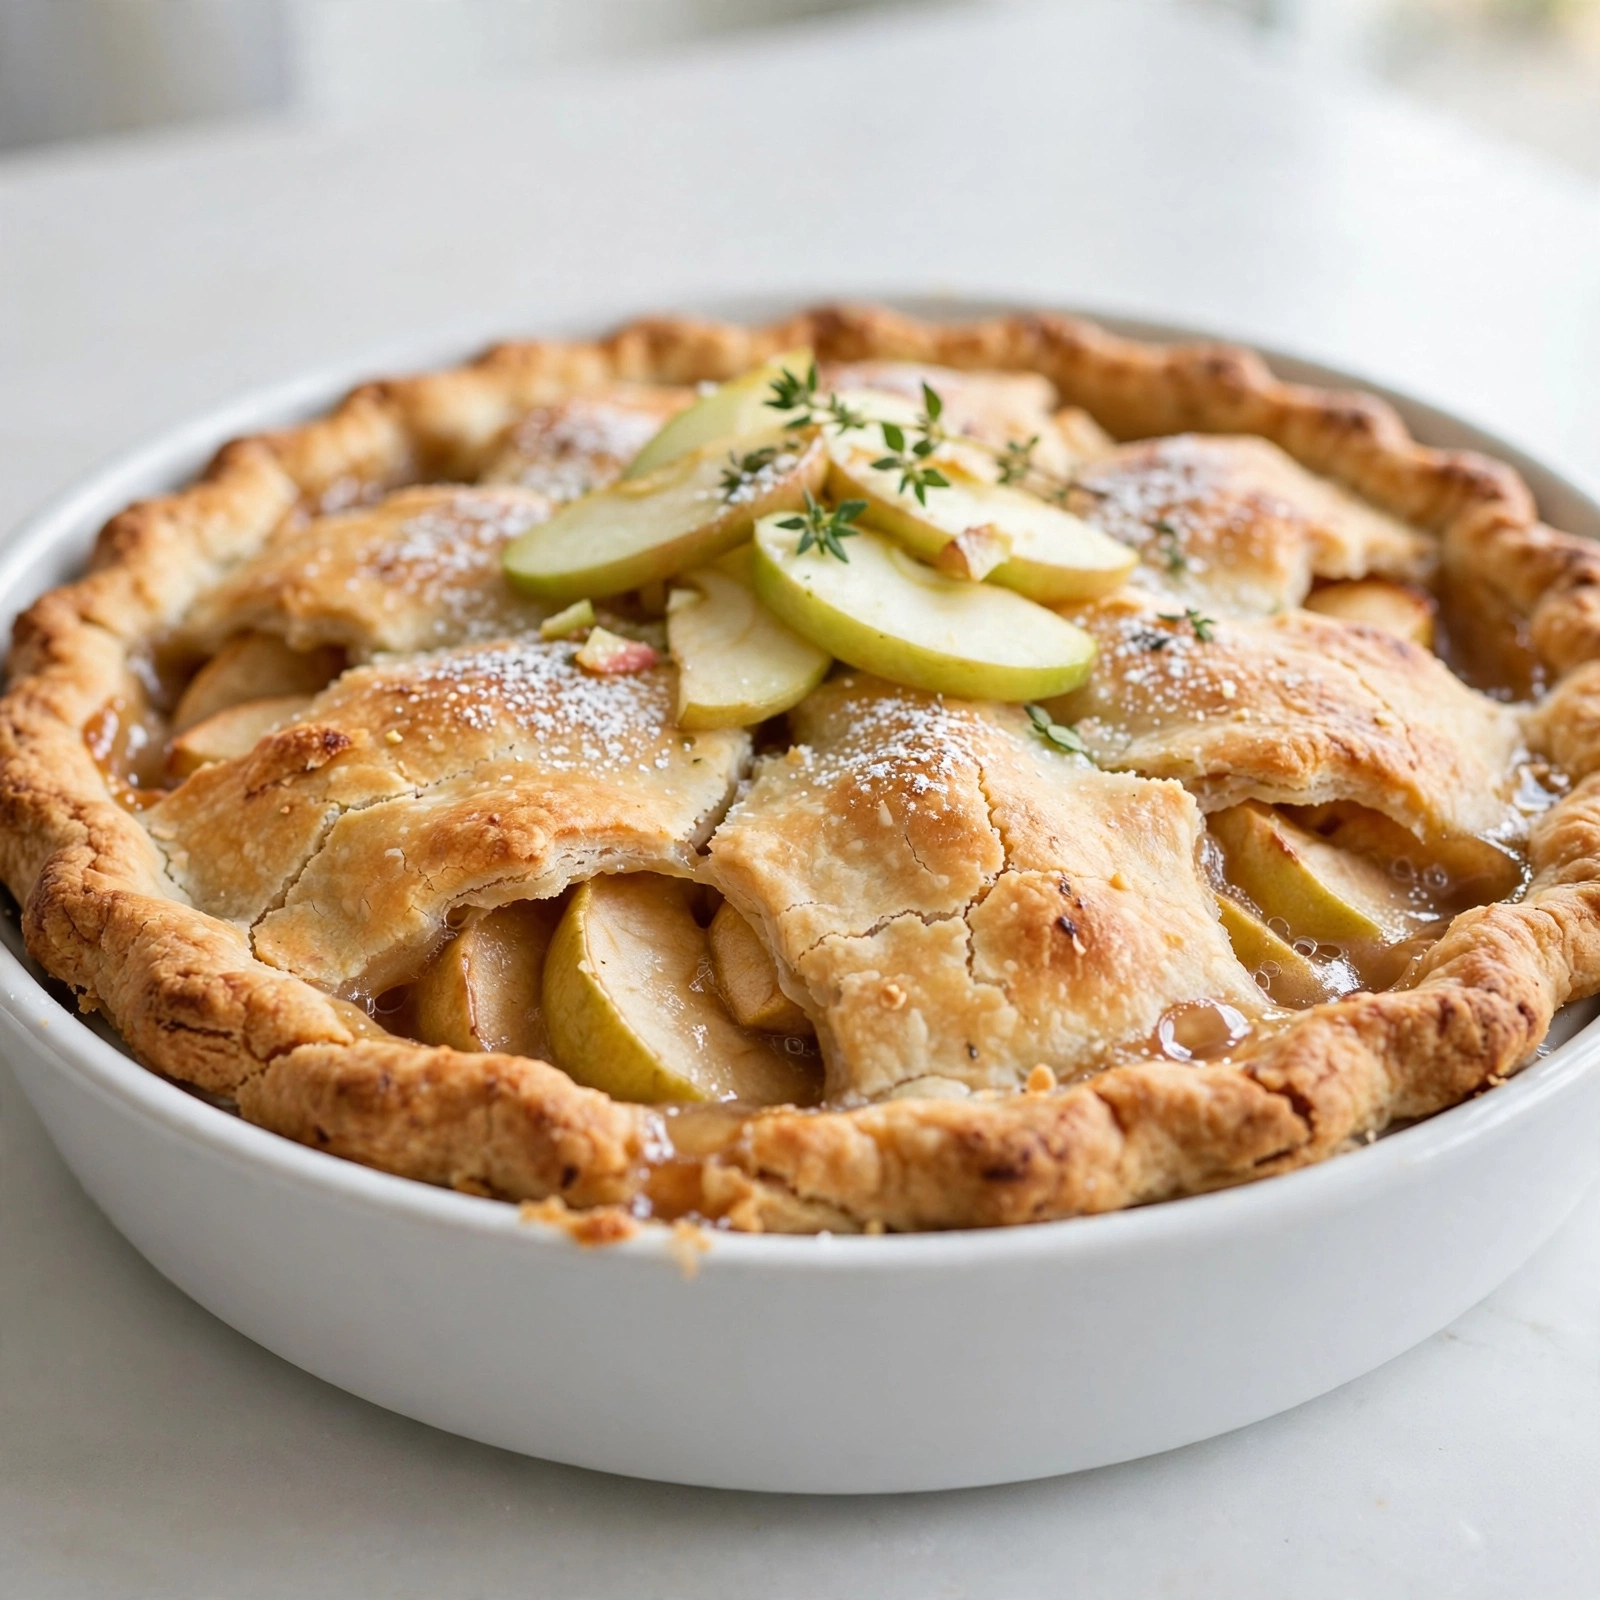
Once your dough has chilled and your apples are tossed and glistening, it's really just a matter of layering. Press the bottom crust into the buttered skillet, mound in the spiced apples, and top it with either a full crust or a rustic lattice woven from strips of dough. A lattice top lets more steam escape and gives you those beautiful golden ribbons across the top.
An egg wash brushed over the top crust, finished with a scatter of coarse sugar, is what gives the finished pie that bakery-shine and delicate crunch.
Ready to make it? Here is the full step-by-step recipe:
Rustic Skillet Apple Pie
This rustic skillet apple pie bakes up bubbling and golden in a cast iron pan, with a flaky, buttery crust and warmly spiced apples in every bite.
Ingredients
- 2 1/2 cups all-purpose flour, plus extra for rolling
- 1 tbsp granulated sugar, for the crust
- 1 tsp salt, divided
- 1 cup unsalted butter, cold, cubed, divided
- 1/2 cup ice water, plus more as needed
- 8 apples, peeled, cored, and sliced; mix of Granny Smith and Honeycrisp
- 3/4 cup brown sugar, packed
- 1/4 cup granulated sugar, for the filling
- 2 tsp apple pie spice, or a mix of cinnamon, nutmeg, and allspice
- 3 tbsp cornstarch, to thicken the juices
- 1 tbsp lemon juice, freshly squeezed
- 1 large egg, beaten, for egg wash
- 1 tbsp coarse sugar, for sprinkling, optional
Instruction
In a large bowl, whisk together the flour, 1 tablespoon sugar, and half the salt. Cut in the cold butter using a pastry cutter or your fingers until the mixture resembles coarse crumbs.
Drizzle in the ice water, 1 tablespoon at a time, tossing gently until the dough just comes together. Divide into two discs, wrap in plastic, and chill for at least 1 hour.
Preheat the oven to 400 degrees F (200 degrees C).
In a large bowl, toss the sliced apples with brown sugar, granulated sugar, apple pie spice, cornstarch, lemon juice, and remaining salt until evenly coated.
Melt the remaining butter in a 10 or 12-inch cast iron skillet over medium heat, swirling to coat the bottom and sides.
Roll out one dough disc on a floured surface and press it into the bottom and up the sides of the buttered skillet.
Spoon the apple filling into the skillet, mounding it slightly in the center, and drizzle any remaining juices over the top.
Roll out the second dough disc and lay it over the filling, or cut it into strips for a lattice top. Trim and crimp the edges to seal.
Brush the top crust with beaten egg and sprinkle with coarse sugar. Cut a few slits in the top to vent steam.
Place the skillet on a baking sheet to catch any drips, then bake for 45 to 55 minutes, until the crust is deep golden brown and the filling is bubbling.
Let the pie cool in the skillet for at least 30 minutes before slicing, so the filling has time to set.
Equipment
- 10 or 12-inch cast iron skillet
- Pastry cutter
- Rolling pin
- Large mixing bowls
- Baking sheet
- Pastry brush
Notes
Serving and Storing Your Skillet Apple Pie
Let the pie rest in the skillet for at least 30 minutes before cutting in. I know the smell makes this nearly impossible, but that resting time lets the thickened juices settle so your slices hold together instead of collapsing into syrup.
Serve warm, straight from the skillet, with a scoop of vanilla ice cream melting into the crevices, or alongside a drizzle of caramel for something extra indulgent. This pie also makes a fantastic centerpiece for a fall table, since the skillet itself looks right at home going from oven to sideboard.
Among cast iron desserts, this one earns its spot in regular rotation. It is forgiving, deeply flavorful, and impossible not to love straight out of the pan.