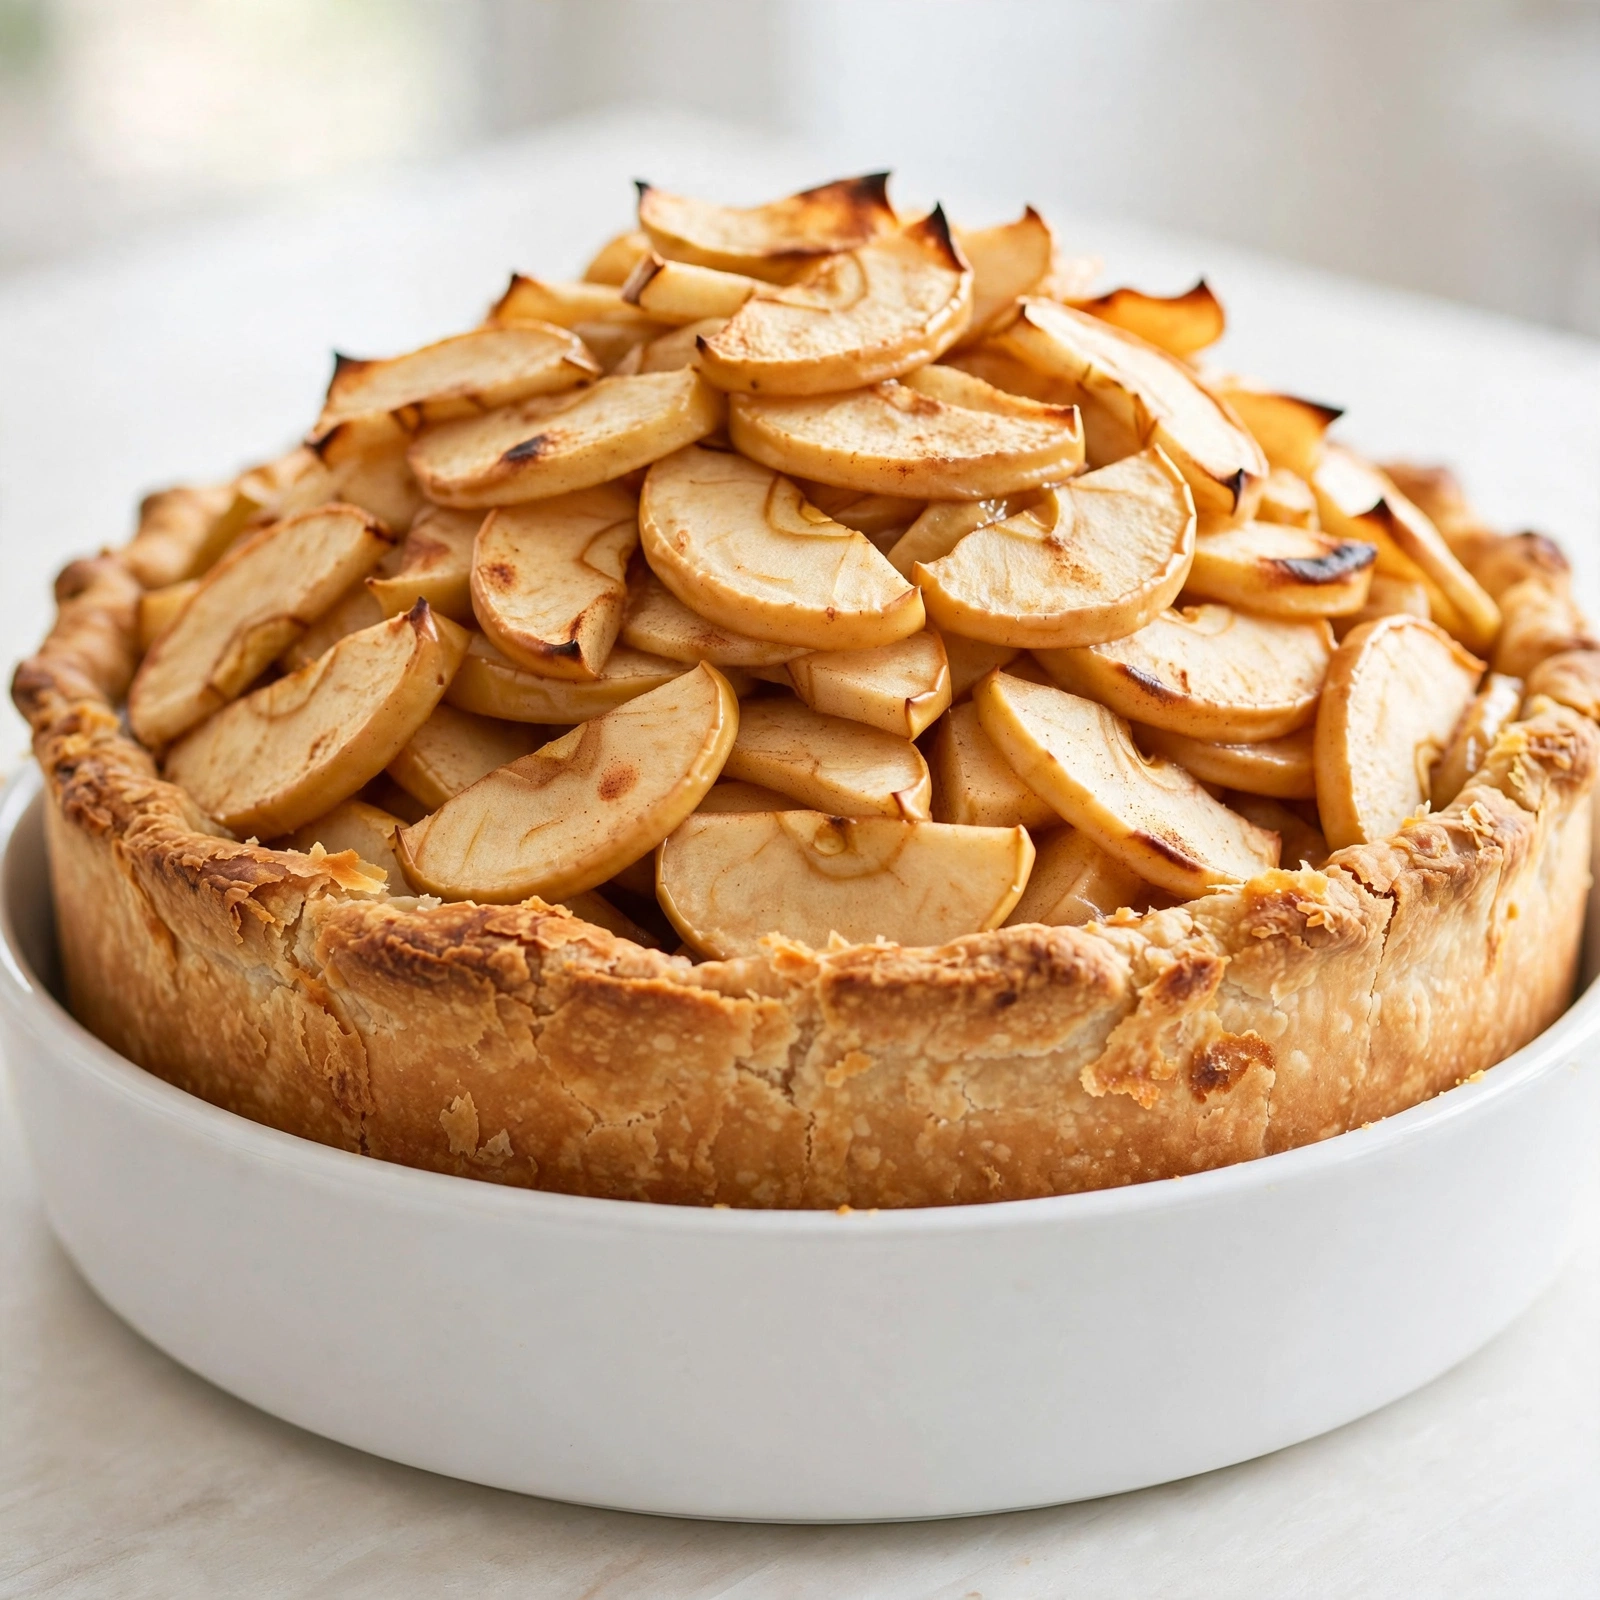
Mile High Apple Pie
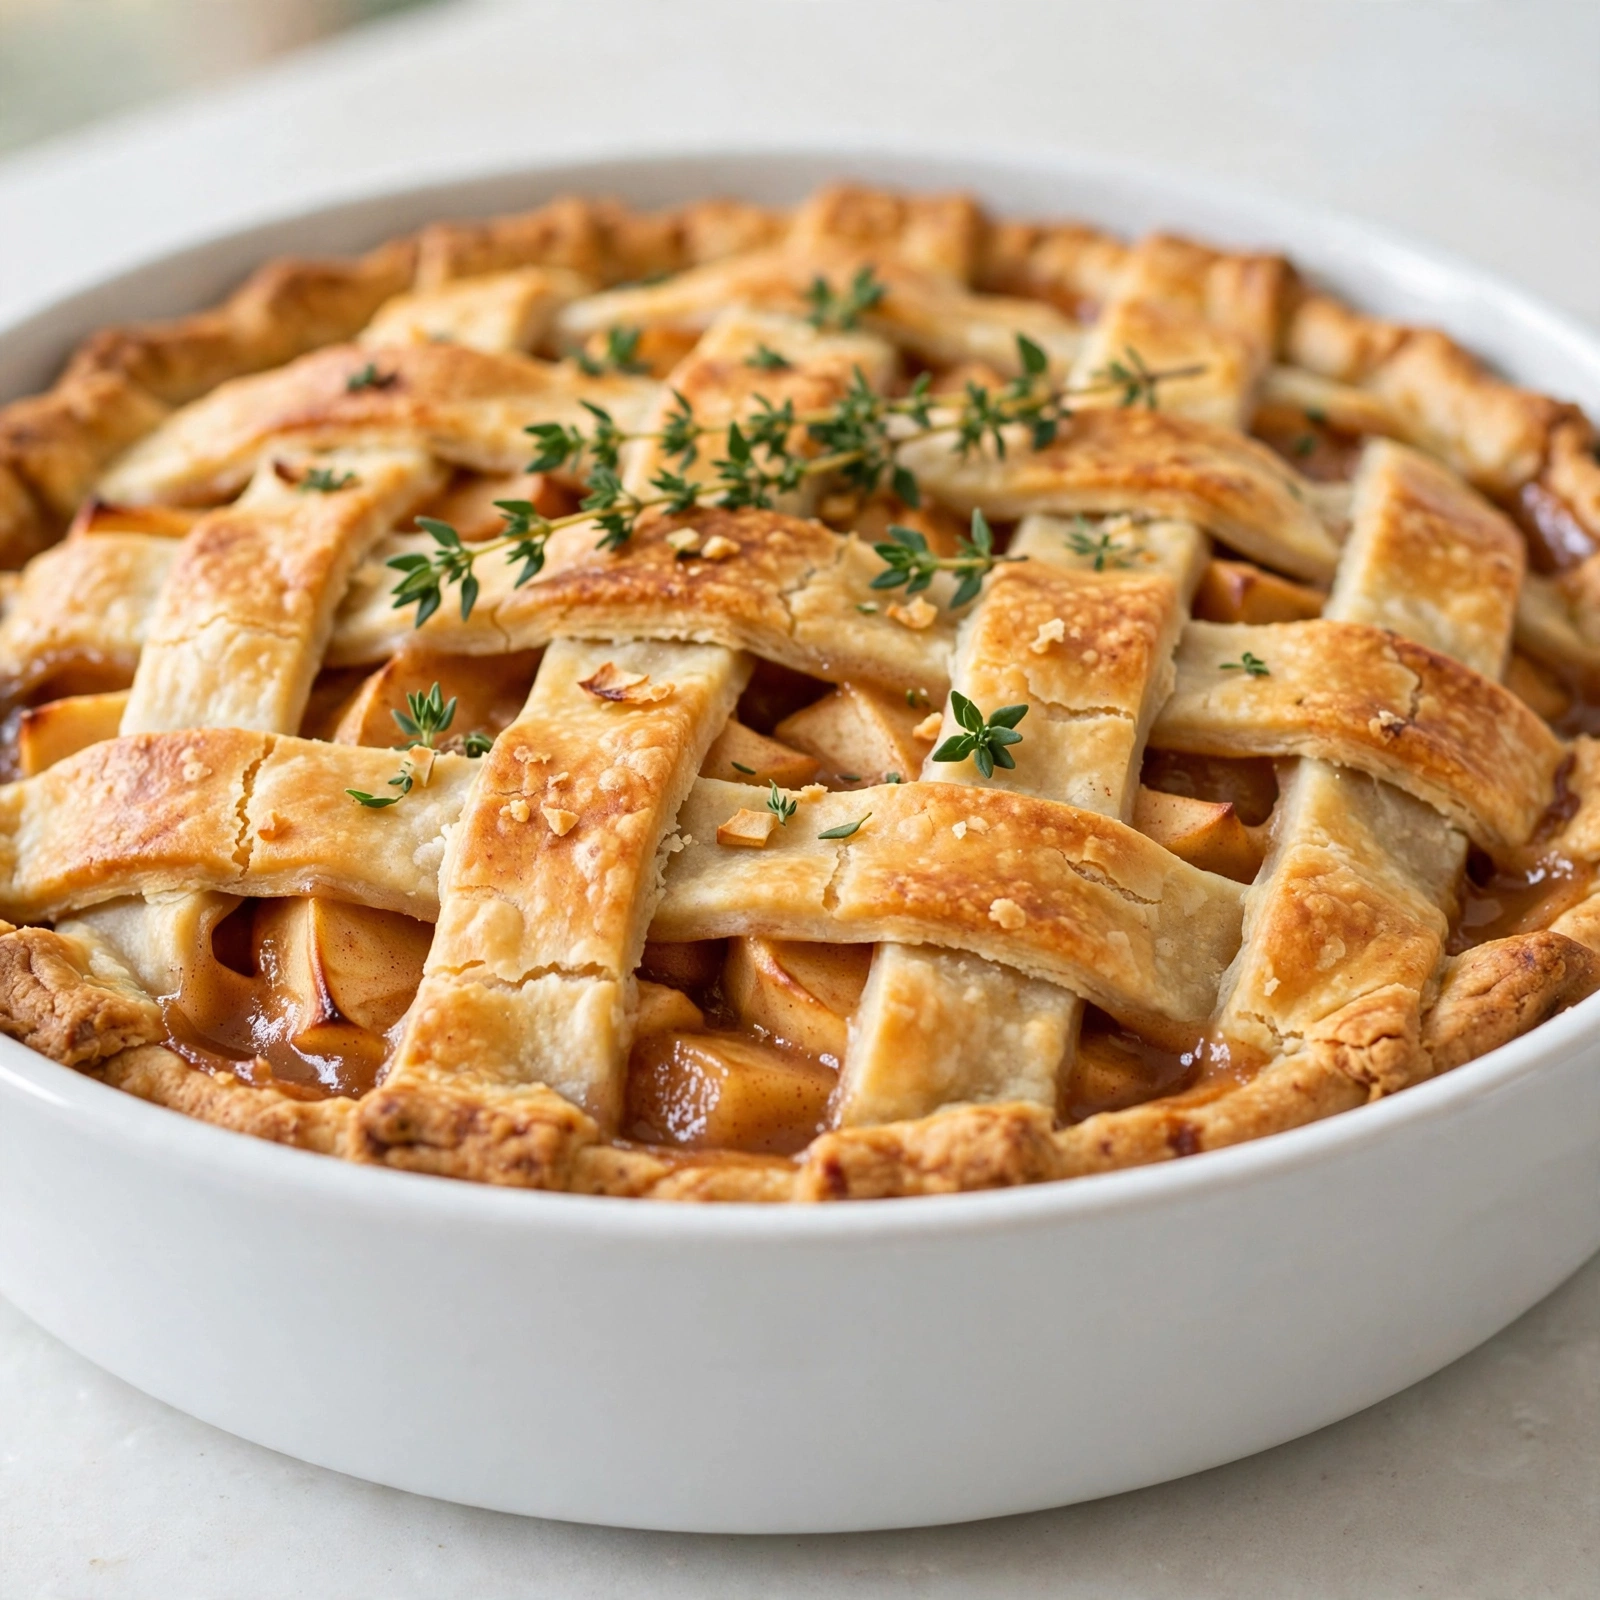
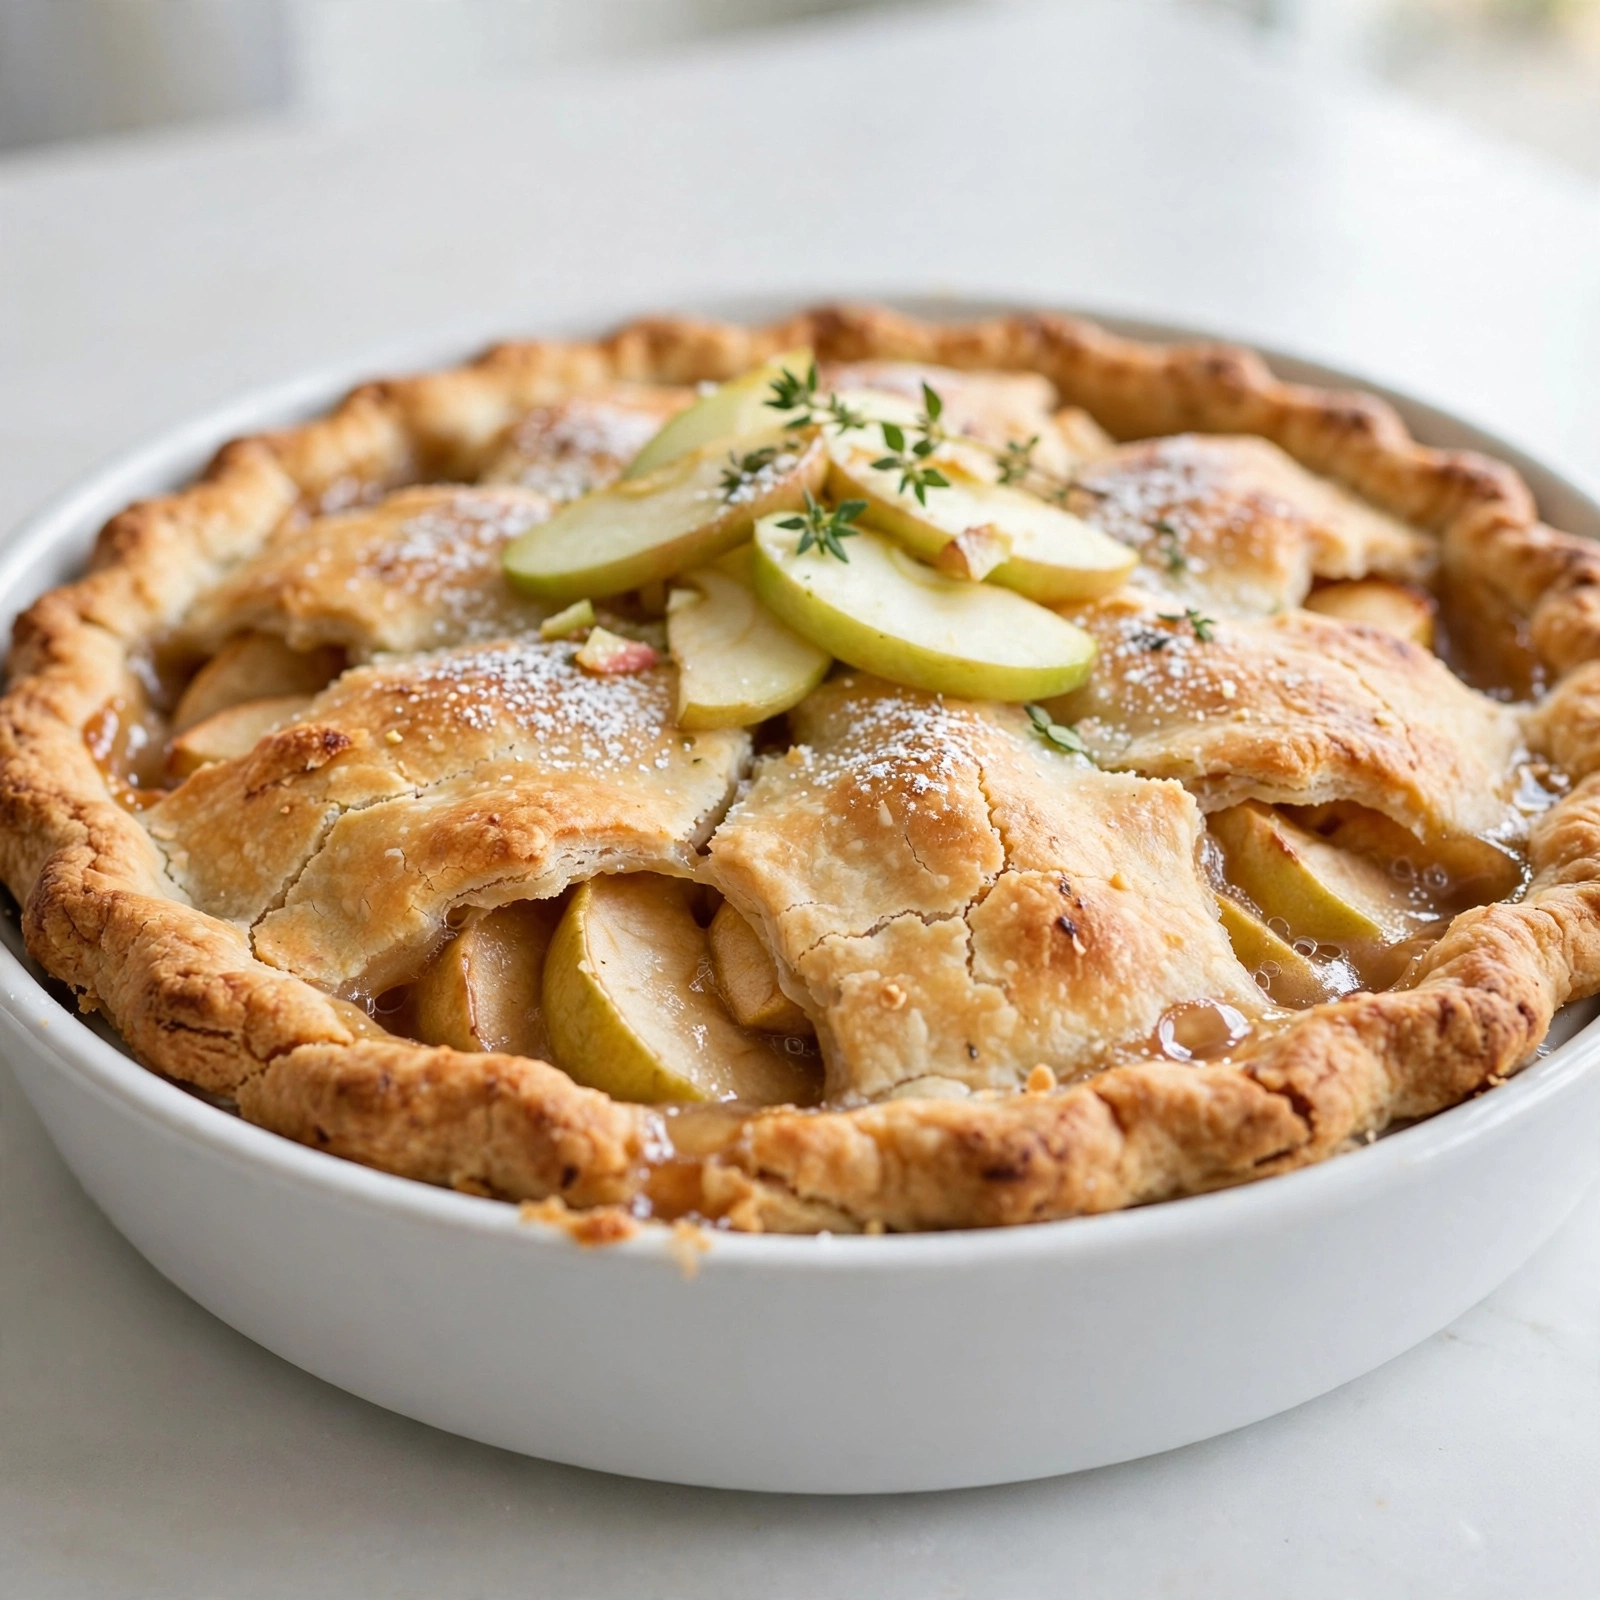
This Mile High Apple Pie towers with cinnamon spiced apples tucked inside a flaky, golden crust, the ultimate showstopper dessert for holidays and Sunday dinners alike.

The Pie That Towers Over Every Other Dessert on the Table
If you have ever wondered how to make a Mile High Apple Pie that actually lives up to its name, you are in the right place. This is not your average apple pie recipe. We are talking about a pie filling piled so generously that the finished dessert stands taller than any slice you have seen at a diner counter. The secret is simple: use a mountain of apples, let them shrink down as they bake, and trust the process.
This Mile High Apple Pie recipe has become a personal favorite for Thanksgiving, Christmas, and honestly any Sunday that feels like it deserves something special. The crust is flaky and buttery, the apples are tender but not mushy, and every bite carries that warm cinnamon spiced aroma that makes a kitchen feel like home.
Before we get cooking, the right tools and ingredients make a real difference here. A good pastry cutter keeps your butter cold and your crust flaky, and a deep dish pie plate is essential for holding all that apple pie filling without spilling over. These are the products that genuinely help this recipe shine:
Choosing the Best Apples for Mile High Apple Pie Filling
The height and structure of this pie depend heavily on your apple choice. I like a mix of Granny Smith for tartness and firmness, and Honeycrisp for natural sweetness and juiciness. Using only soft apples like McIntosh will leave you with a collapsed, watery filling, which defeats the whole purpose of a mile high pie.
- Granny Smith: tart, firm, holds its shape
- Honeycrisp: sweet, crisp, adds juiciness
- Braeburn or Jazz: great backup options with similar texture
Chef's Tip: Slice your apples thick, about a quarter inch, rather than thin. Thick slices shrink less during baking, which is a big part of keeping that dramatic height.
Why the Filling Looks Too Big (And Why That's the Point)
When you pile the apples into the crust, it will look almost comically overfilled. That is exactly what you want. As the apples bake, they release moisture and soften slightly, settling into a tall, rounded dome under the top crust instead of collapsing flat. This is the whole trick behind how to make a Mile High Apple Pie that actually earns its name.
A few things help the structure hold:
- Tossing the apples with cornstarch to thicken the juices
- Letting the sugared apples sit for 10 minutes so they release some liquid before baking
- Starting at a high oven temperature to set the crust quickly, then lowering the heat to cook the filling through
Chef's Tip: Always bake with a rimmed sheet pan underneath. A pie filled this generously will almost always bubble over a little, and nobody wants a smoking oven floor.
Building the Perfect Mile High Apple Pie Recipe
Once your dough is chilled and your apples are tossed with brown sugar, cinnamon, and a touch of nutmeg, assembly comes together quickly. Roll out your bottom crust, mound the filling as high as it will comfortably go, then top it with either a full crust or a lattice for a beautiful bakery style finish.
Ready to make it? Here is the full step-by-step recipe:
Mile High Apple Pie
This Mile High Apple Pie towers with cinnamon spiced apples tucked inside a flaky, golden crust, the ultimate showstopper dessert for holidays and Sunday dinners alike.
Ingredients
- 2 1/2 cups all-purpose flour, plus extra for rolling
- 1 tbsp granulated sugar, for the crust
- 1 tsp salt, divided
- 1 cup unsalted butter, cold, cut into cubes
- 1/2 cup ice water, plus more as needed
- 10 apples, a mix of Granny Smith and Honeycrisp, peeled, cored, and sliced thick
- 2 tbsp lemon juice, freshly squeezed
- 3/4 cup brown sugar, packed
- 1/4 cup granulated sugar, for the filling
- 2 tsp ground cinnamon
- 1/4 tsp ground nutmeg, freshly grated if possible
- 3 tbsp cornstarch, to thicken the filling
- 1 large egg, beaten, for egg wash
- 1 tbsp coarse sugar, for sprinkling on top, optional
Instruction
In a large bowl, whisk together the flour, granulated sugar, and half the salt. Cut in the cold butter cubes with a pastry cutter until the mixture resembles coarse crumbs with pea sized pieces of butter.
Drizzle in the ice water a tablespoon at a time, mixing gently until the dough just comes together. Divide into two discs, wrap in plastic, and chill for at least 1 hour.
Preheat the oven to 425 degrees F (218 degrees C) and place a rimmed baking sheet on the lower rack to catch any drips.
In a very large bowl, toss the sliced apples with lemon juice to prevent browning.
Add the brown sugar, granulated sugar, cinnamon, nutmeg, remaining salt, and cornstarch to the apples. Toss thoroughly until every slice is coated and let sit for 10 minutes.
Roll out one dough disc on a floured surface and fit it into a deep dish 9 inch pie plate, letting the excess hang over the edge.
Pile the apple filling into the crust, mounding it high in the center. It should look dramatically over full, this is what gives the pie its height once baked.
Roll out the second dough disc and place it over the filling, or cut into strips for a lattice top. Trim and crimp the edges to seal.
Brush the top crust with the beaten egg and sprinkle with coarse sugar. Cut a few slits in the top to let steam escape.
Bake at 425 degrees F for 20 minutes, then reduce the oven temperature to 375 degrees F (190 degrees C) and continue baking for 40 to 50 minutes, until the crust is deep golden and the filling is bubbling.
If the edges brown too quickly, tent them loosely with foil partway through baking.
Cool the pie on a wire rack for at least 3 hours before slicing, this allows the filling to set so your slices hold their tall, dramatic shape.
Equipment
- Deep dish 9 inch pie plate
- Pastry cutter or food processor
- Rolling pin
- Large mixing bowl
- Rimmed baking sheet
- Pastry brush
- Wire cooling rack
Notes
Serving, Storing, and Making It Your Own
This pie is best served slightly warm or at room temperature, ideally with a scoop of vanilla ice cream melting down the sides. If you are serving a crowd, this Mile High Apple Pie recipe slices beautifully once fully cooled, so resist the urge to cut into it right out of the oven.
For storage, keep leftover pie loosely covered at room temperature for up to two days, or refrigerate for up to five. A quick reheat in the oven brings the crust back to life far better than the microwave ever could.
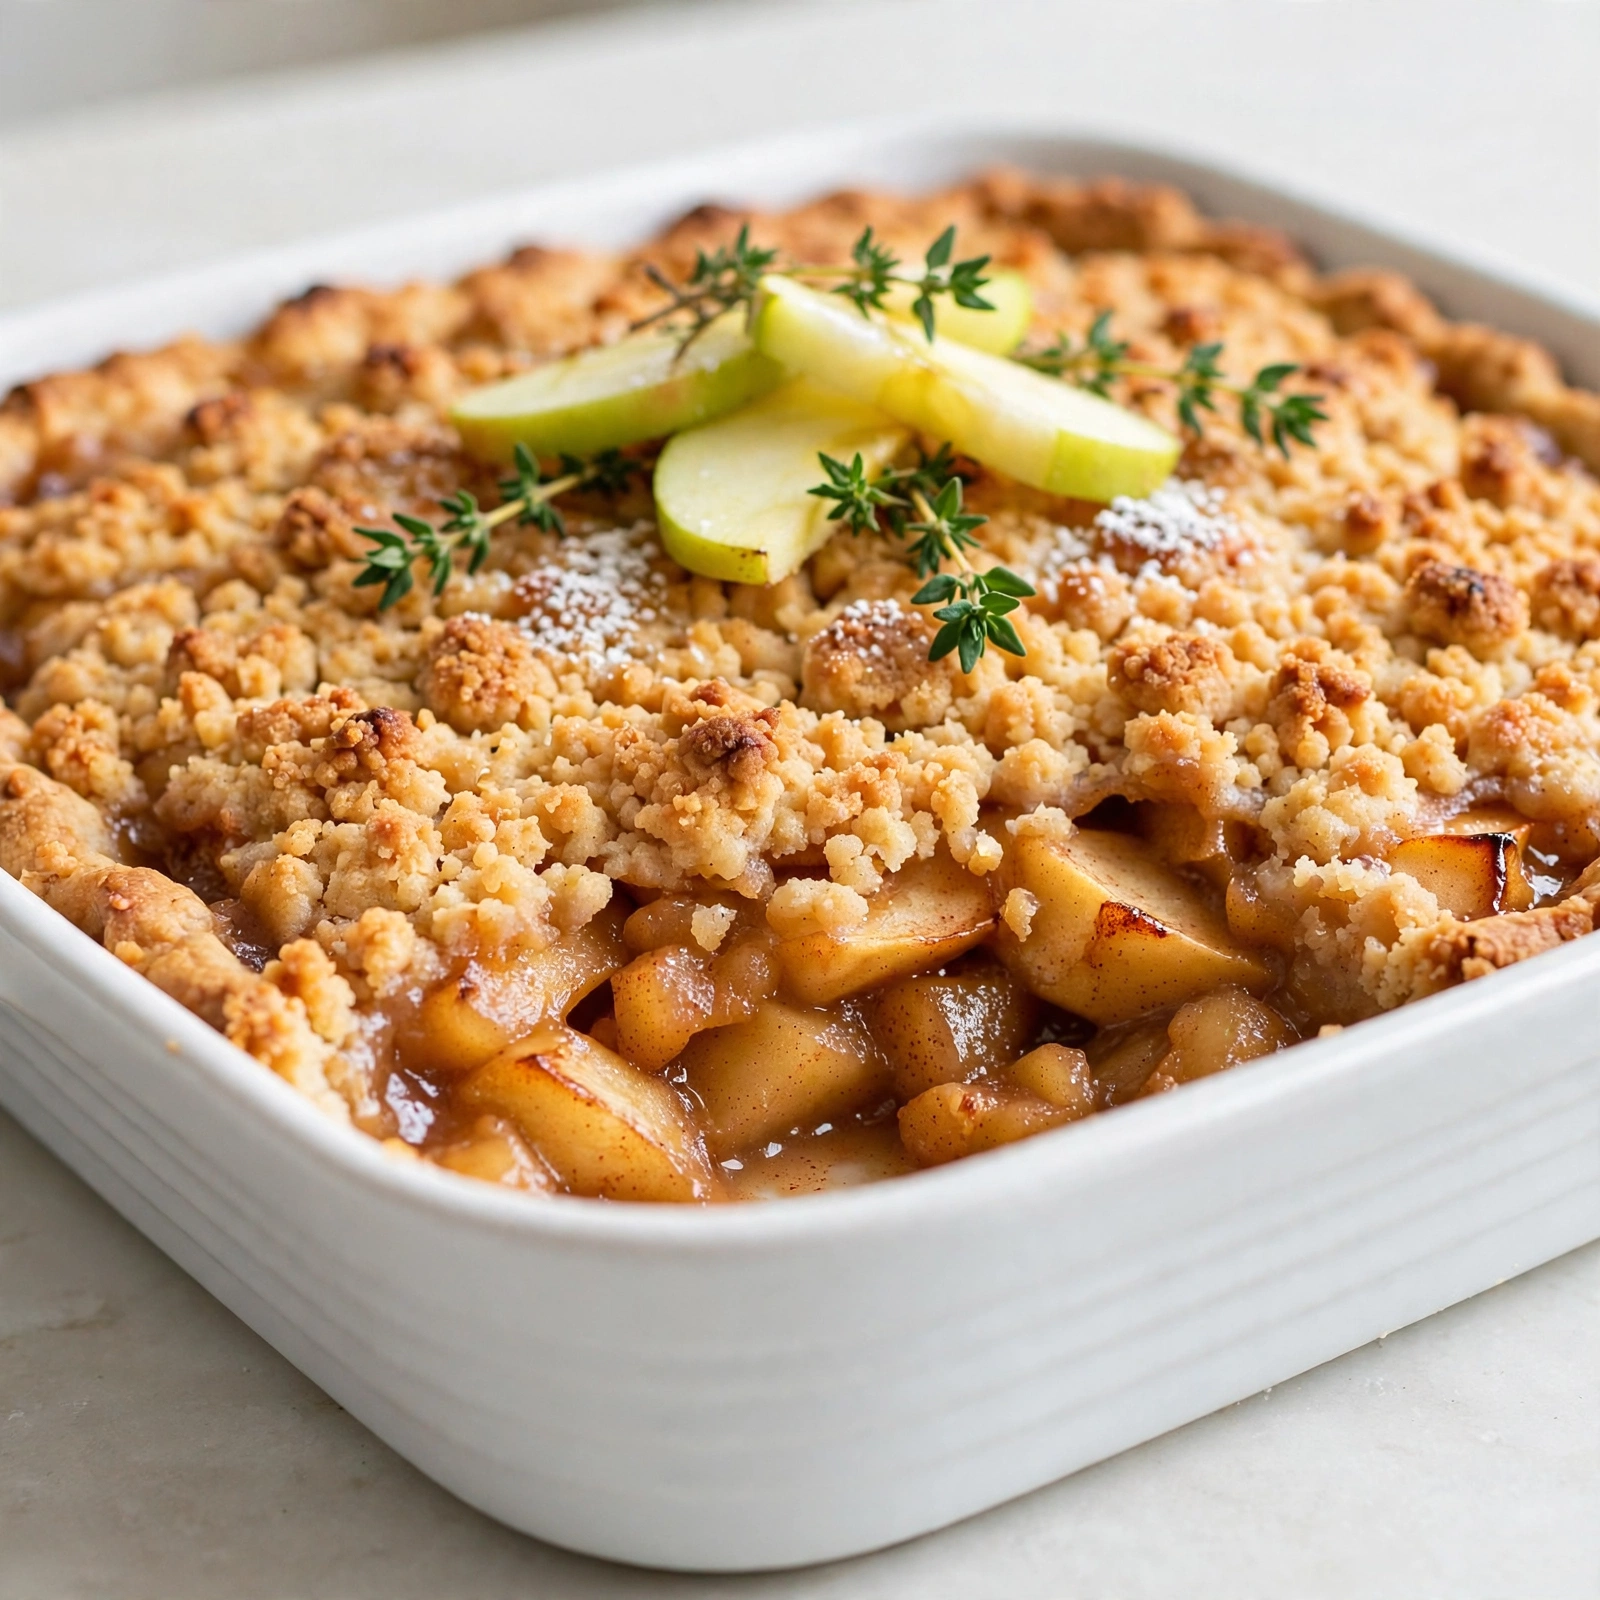
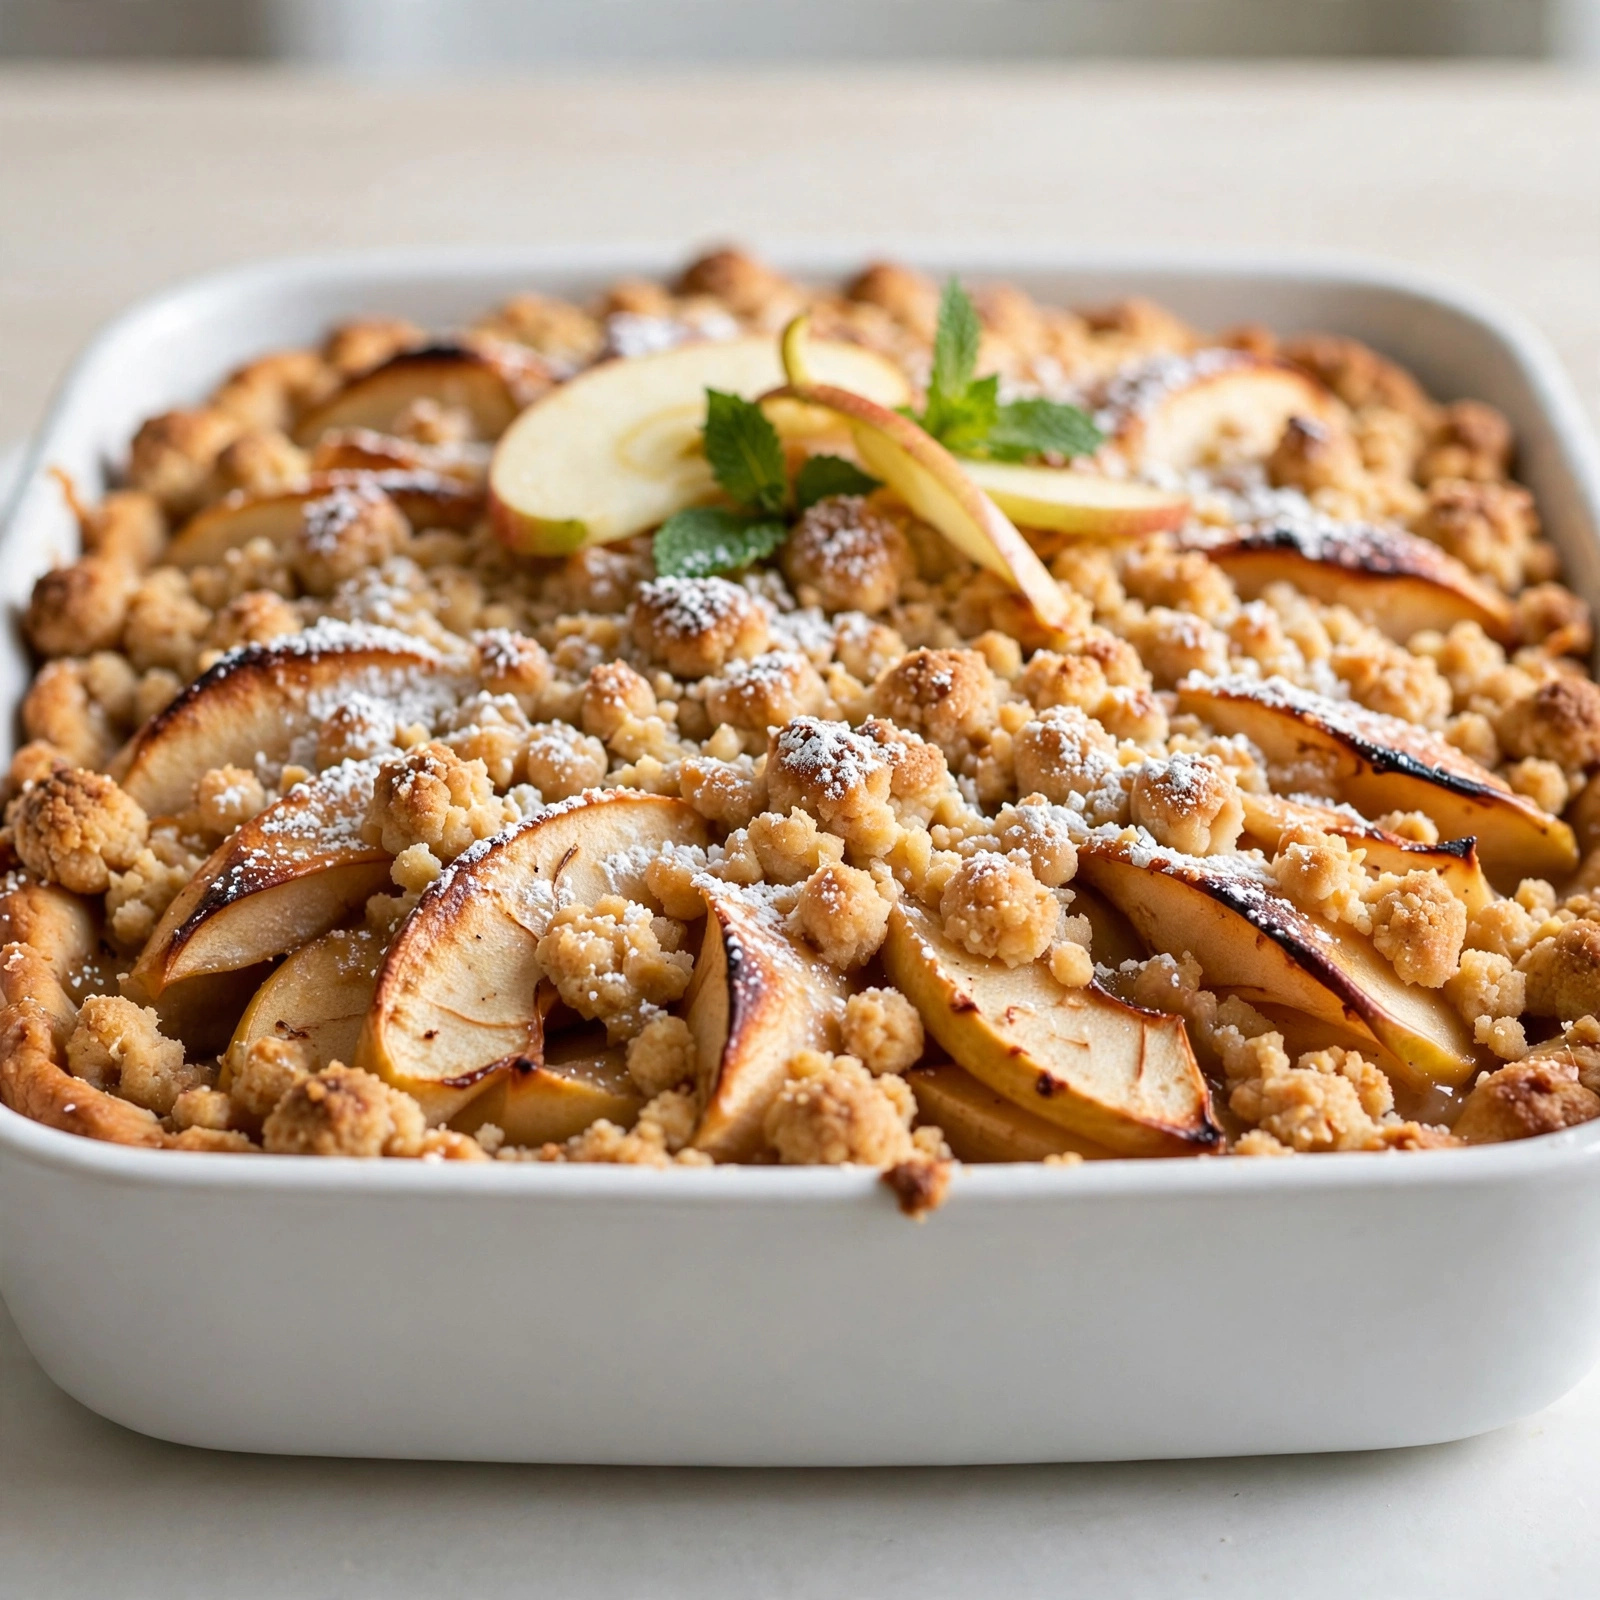
Want to switch things up? Try adding a handful of dried cranberries to the apple pie filling for a festive twist, or swap half the top crust for a crumb topping made with oats, flour, and butter. However you serve it, this is the kind of pie that disappears fast and gets requested again the very next holiday.