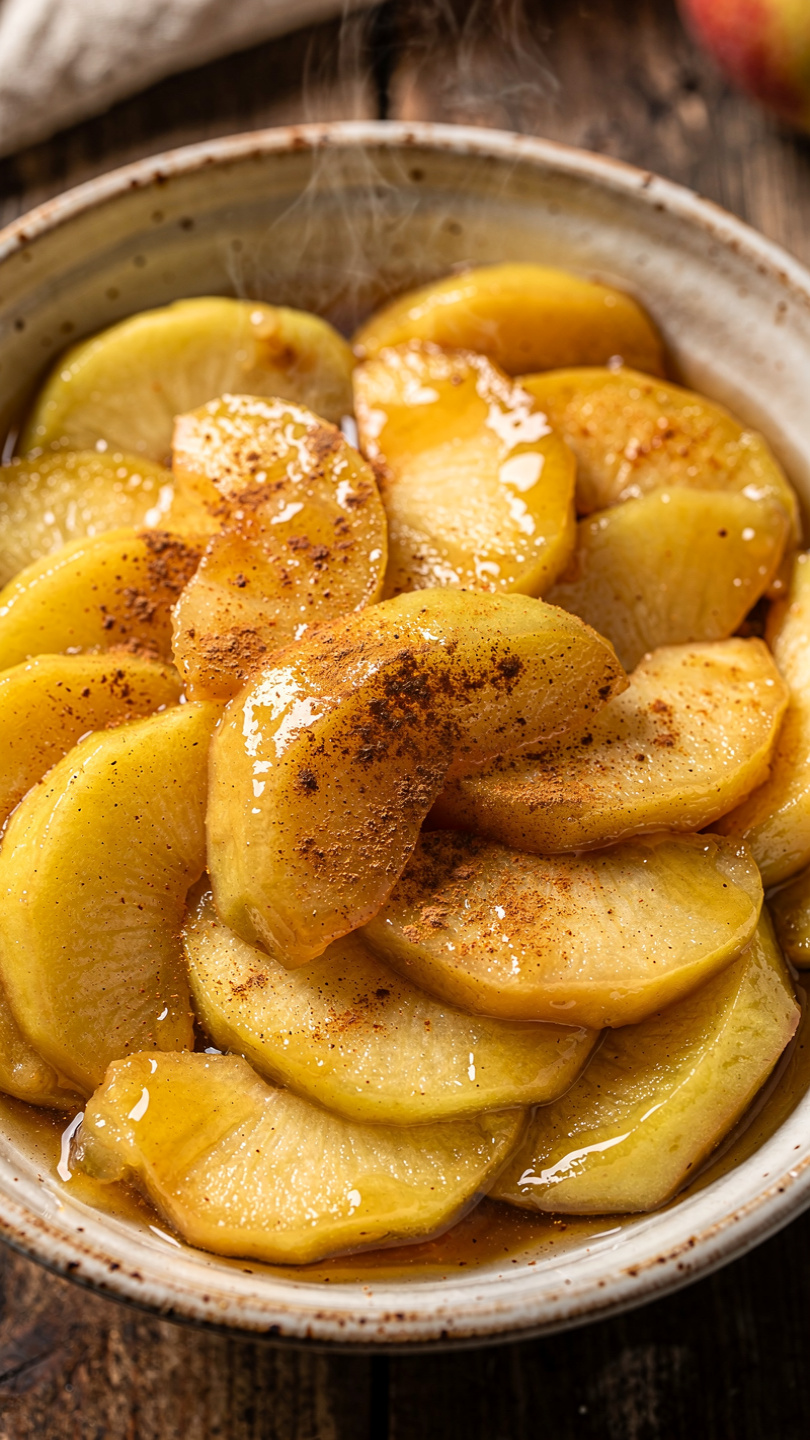
Homemade Apple Pie Filling
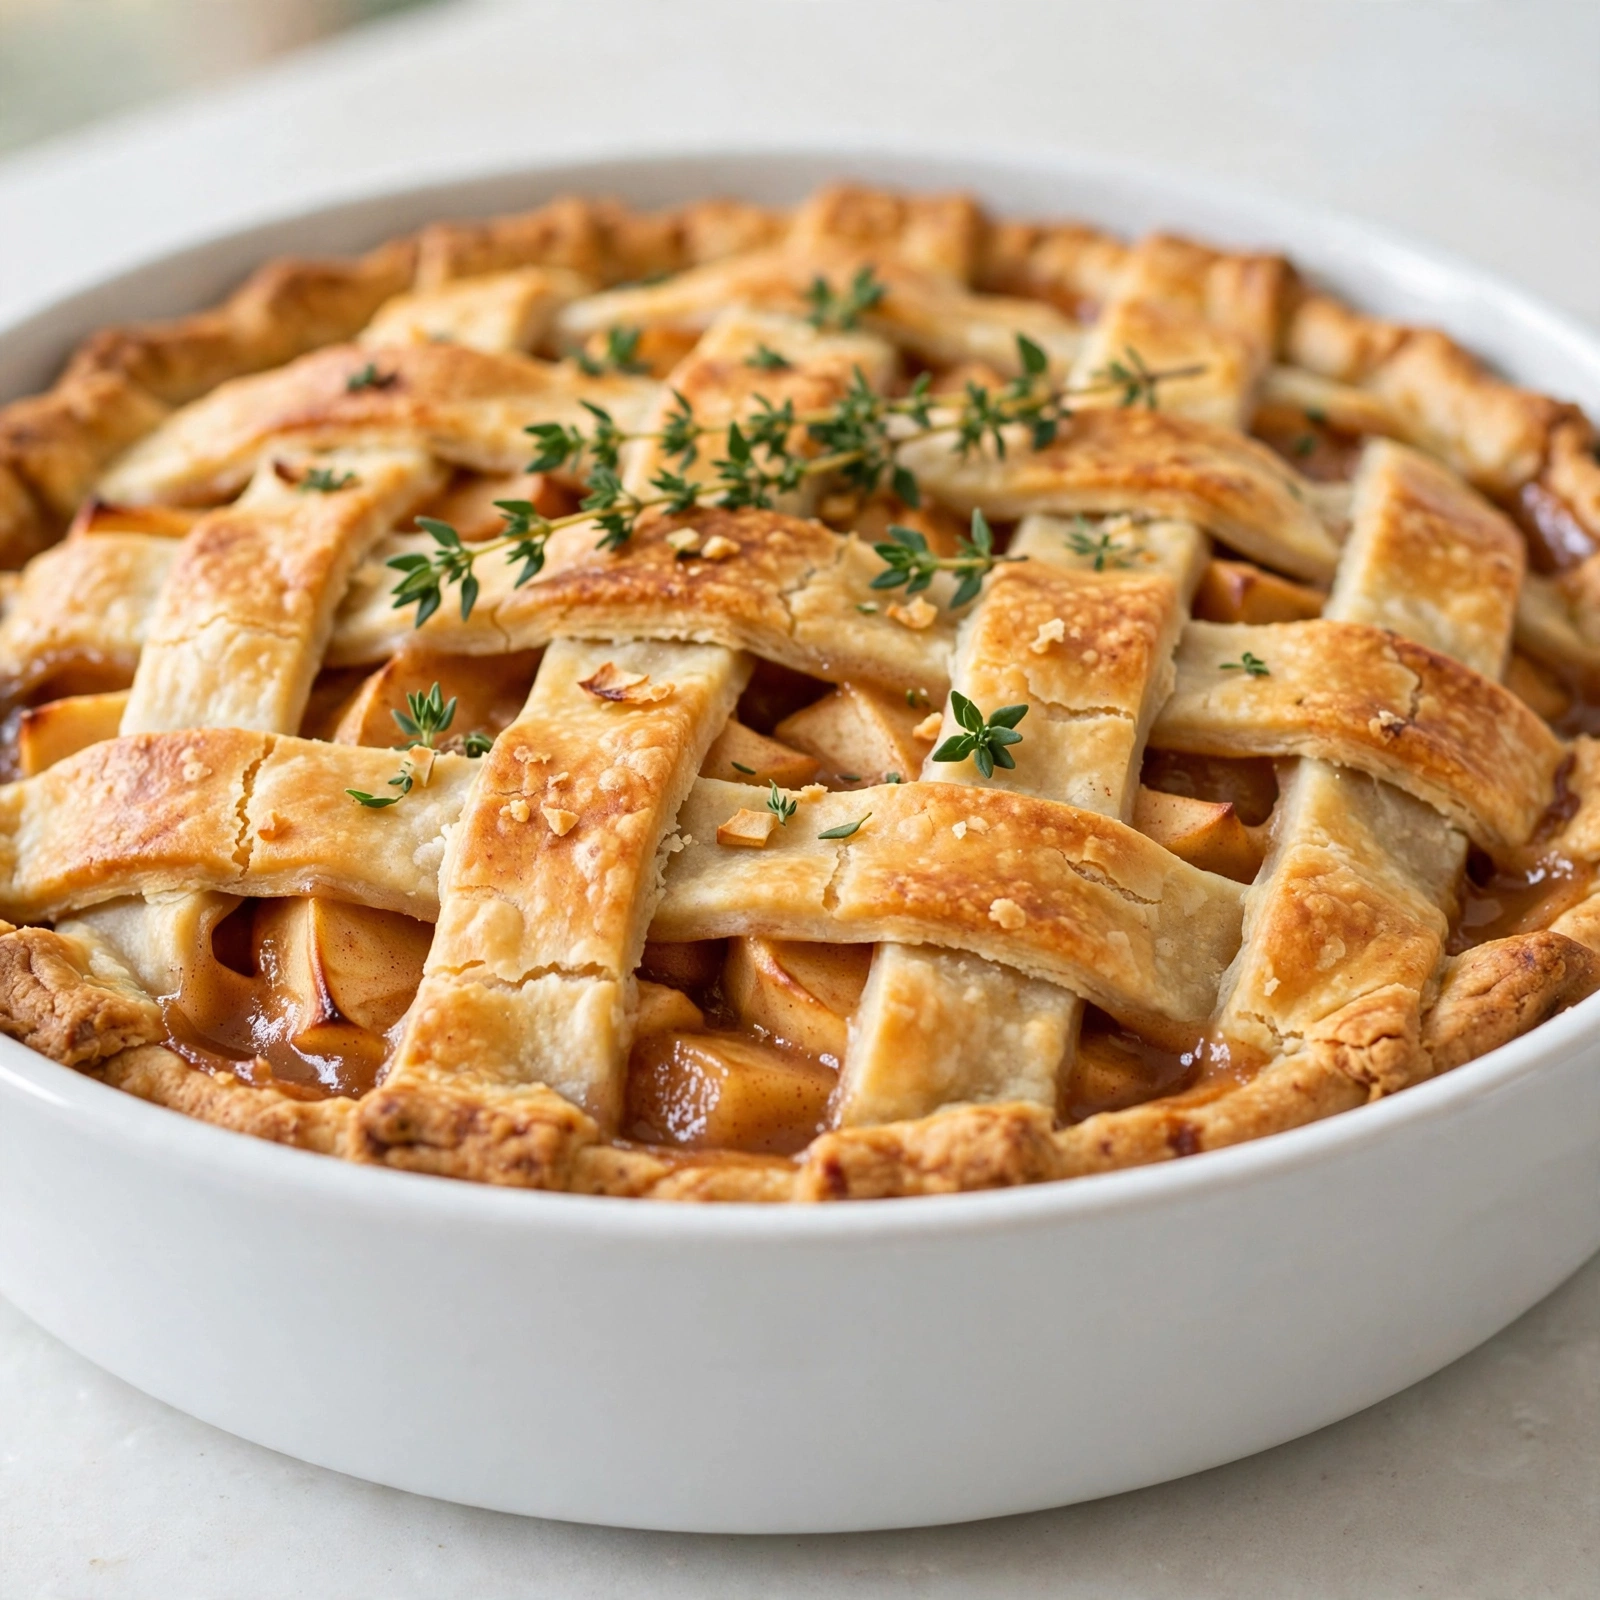
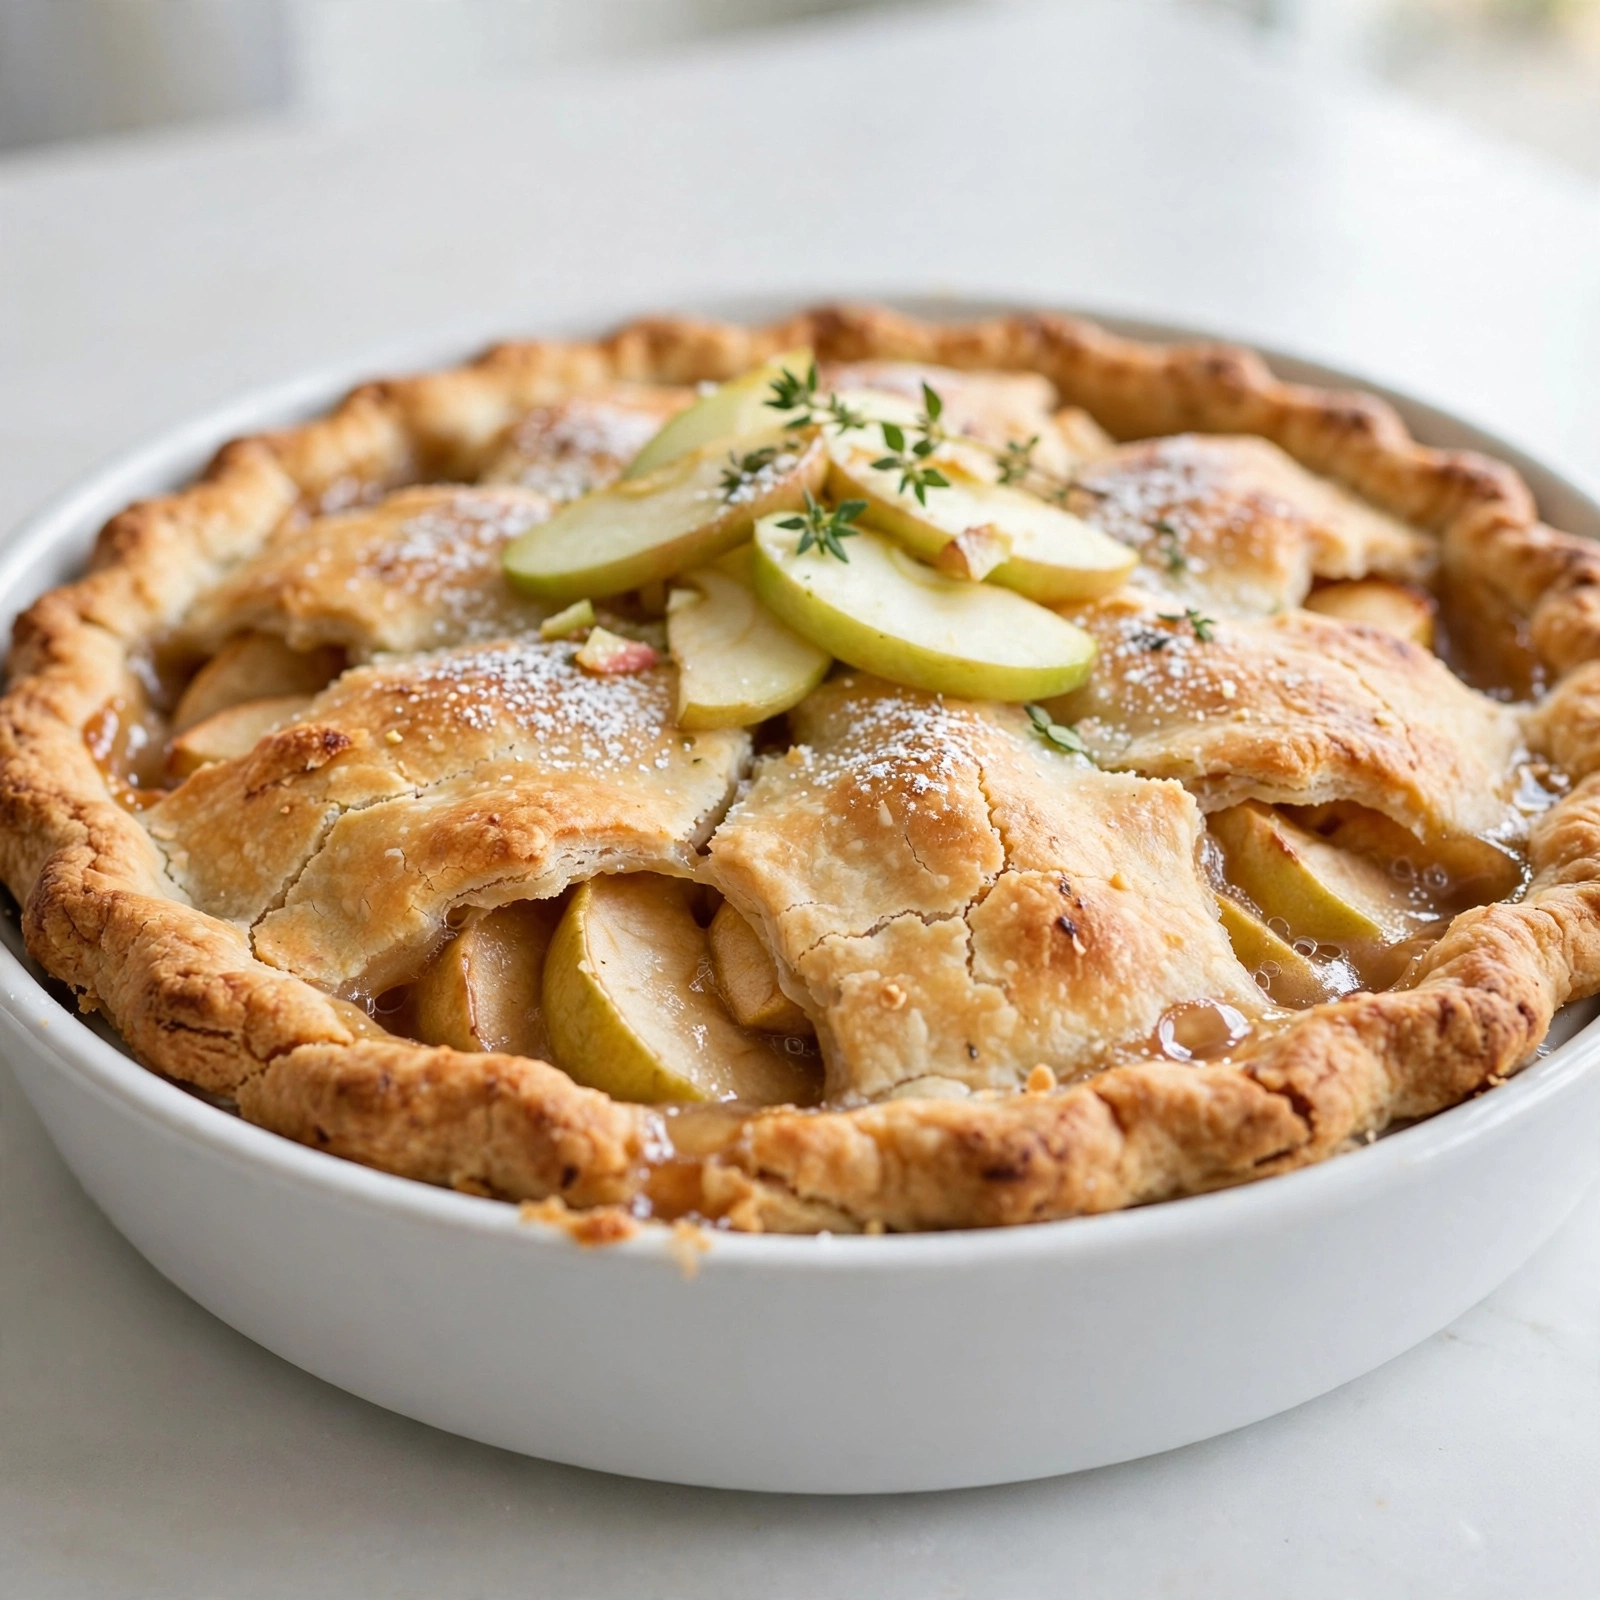
This homemade apple pie filling is thick, glossy, and packed with warm cinnamon spice, made easy from fresh apples for the most amazing pies, crisps, and pastries.

The Secret to Amazing Homemade Apple Pie Filling
There is something magical about a jar of homemade apple pie filling cooling on the counter, filling your kitchen with cinnamon and warm baked apples. If you have only ever used the canned stuff, this recipe is about to change your baking life. It is thick, glossy, perfectly spiced, and made entirely from fresh apples, so every bite tastes like fall no matter what season it is.
This is genuinely one of the easiest ways to make apple pie filling from fresh apples, and once you taste the difference, you will never go back to store bought again.
Before we get cooking, the right tools and ingredients make a real difference here. A sturdy saucepan for even heat, a sharp paring knife for quick apple prep, and good quality cinnamon all help this filling turn out perfectly thick and flavorful every time. These are the products that genuinely help this recipe shine:
Why This Homemade Apple Filling Recipe Works
The key to thick apple pie filling that holds its shape when sliced is the cornstarch slurry. Cooking the sugar, spices, and cornstarch together with water before adding the apples means the sauce is already glossy and thickened by the time the fruit goes in. This prevents that watery, soupy pie filling that soaks through your crust.
Using a mix of granulated and brown sugar also gives the filling more depth than plain white sugar alone. The brown sugar brings a subtle caramel note that pairs beautifully with the cinnamon and nutmeg.
Chef's Tip: Slice your apples to a consistent thickness, about a quarter inch, so they cook evenly and none of the pieces turn to mush while others stay too firm.
Choosing the Best Apples for Pie Filling
Not all apples behave the same way once they hit the heat. For the best fresh apple pie filling, you want a variety that is firm enough to hold its shape but still breaks down just slightly for that classic tender pie bite.
- Granny Smith: Tart, firm, and the gold standard for pie filling.
- Honeycrisp: Adds natural sweetness and a nice crisp texture.
- Braeburn or Jonagold: A great in between option with balanced sweetness and tartness.
A combination of two varieties, like Granny Smith and Honeycrisp, usually gives the most well rounded flavor and texture in the final filling.
How To Make Apple Pie Filling From Fresh Apples
This process could not be simpler, and it comes together in under 40 minutes total. You start by tossing your sliced apples in lemon juice, which keeps them from browning and adds a little brightness that balances all that sugar. Meanwhile, the sugar, cornstarch, and spices get whisked with water right in the saucepan and cooked until thickened into a glossy sauce.
Once the sauce is bubbling and thick, the apples go in to simmer gently until just tender. That is really all there is to it. No peeling headaches, no complicated techniques, just fresh apples transformed into an amazing homemade apple pie filling that tastes far better than anything from a can.
Ready to make it? Here is the full step by step recipe:
Homemade Apple Pie Filling
This homemade apple pie filling is thick, glossy, and packed with warm cinnamon spice, made easy from fresh apples for the most amazing pies, crisps, and pastries.
Ingredients
- 8 apples, peeled, cored, and thinly sliced, Granny Smith or a mix with Honeycrisp
- 3/4 cup granulated sugar
- 1/4 cup brown sugar, packed, light or dark
- 3 tbsp cornstarch, for thickening
- 1 1/2 tsp ground cinnamon
- 1/4 tsp ground nutmeg, freshly grated if possible
- 1/4 tsp salt
- 3/4 cup water
- 1 tbsp lemon juice, freshly squeezed
- 1 tbsp unsalted butter, optional, for richness
Instruction
Peel, core, and slice the apples into even, quarter-inch thick pieces so they cook evenly.
Toss the sliced apples with the lemon juice in a large bowl to keep them from browning.
In a medium saucepan, whisk together the granulated sugar, brown sugar, cornstarch, cinnamon, nutmeg, and salt.
Whisk the water into the sugar mixture until completely smooth with no lumps.
Set the saucepan over medium heat and cook, stirring constantly, until the mixture thickens and starts to bubble, about 3 to 4 minutes.
Add the sliced apples and the optional butter to the thickened sauce, stirring to coat every piece.
Reduce the heat to medium low and simmer for 8 to 10 minutes, stirring occasionally, until the apples are just tender but still hold their shape.
Remove from the heat and let the filling cool for at least 20 minutes before using or storing.
Use immediately in a pie crust, or cool completely and refrigerate or freeze for later use.
Equipment
- Large mixing bowl
- Medium saucepan
- Whisk
- Wooden spoon or silicone spatula
- Vegetable peeler
- Sharp paring knife
Notes
Serving, Storing, and Using Your Filling
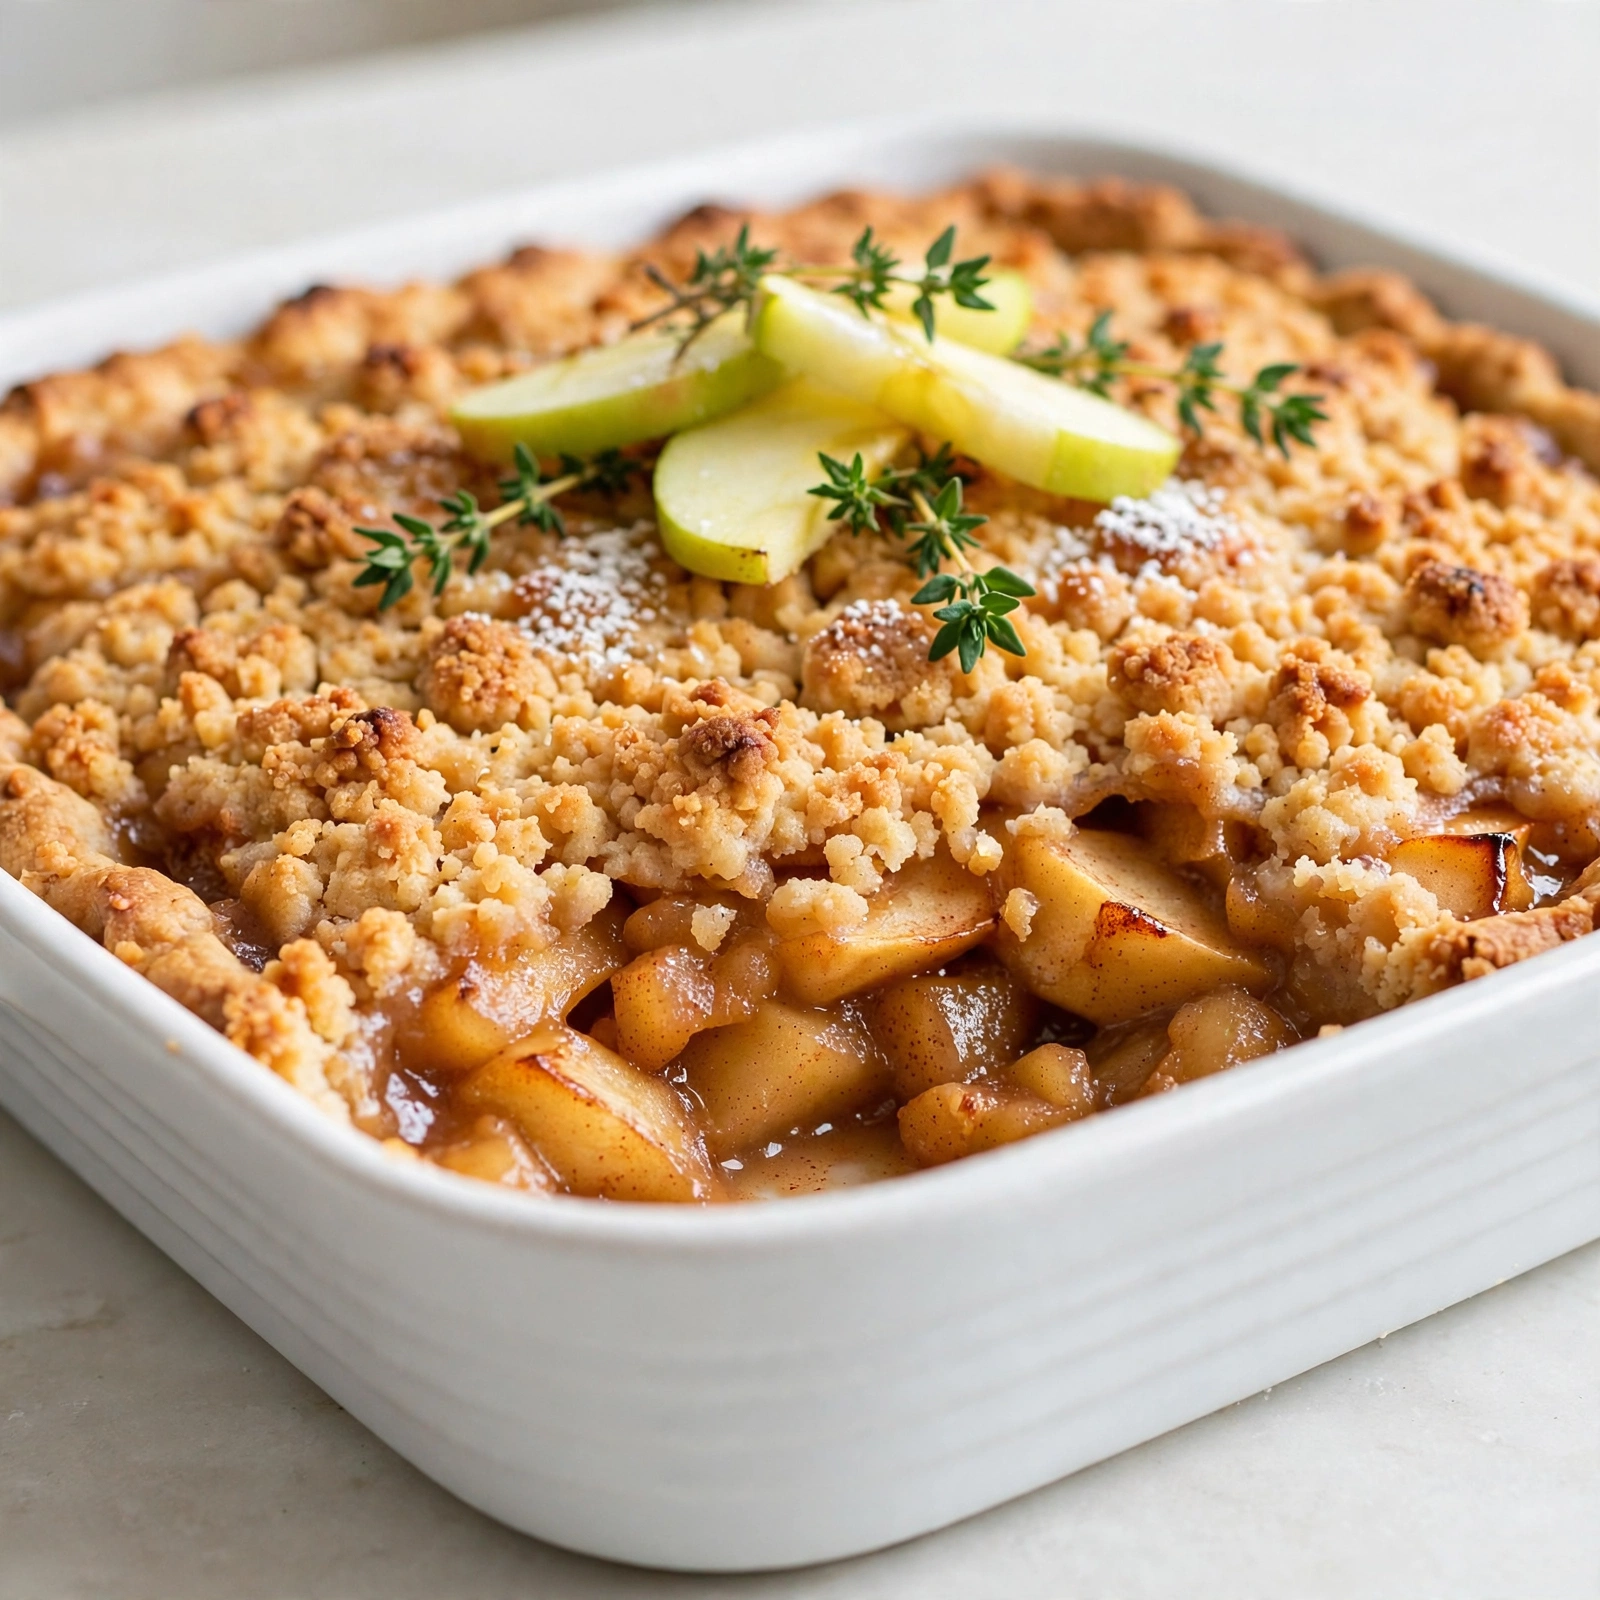
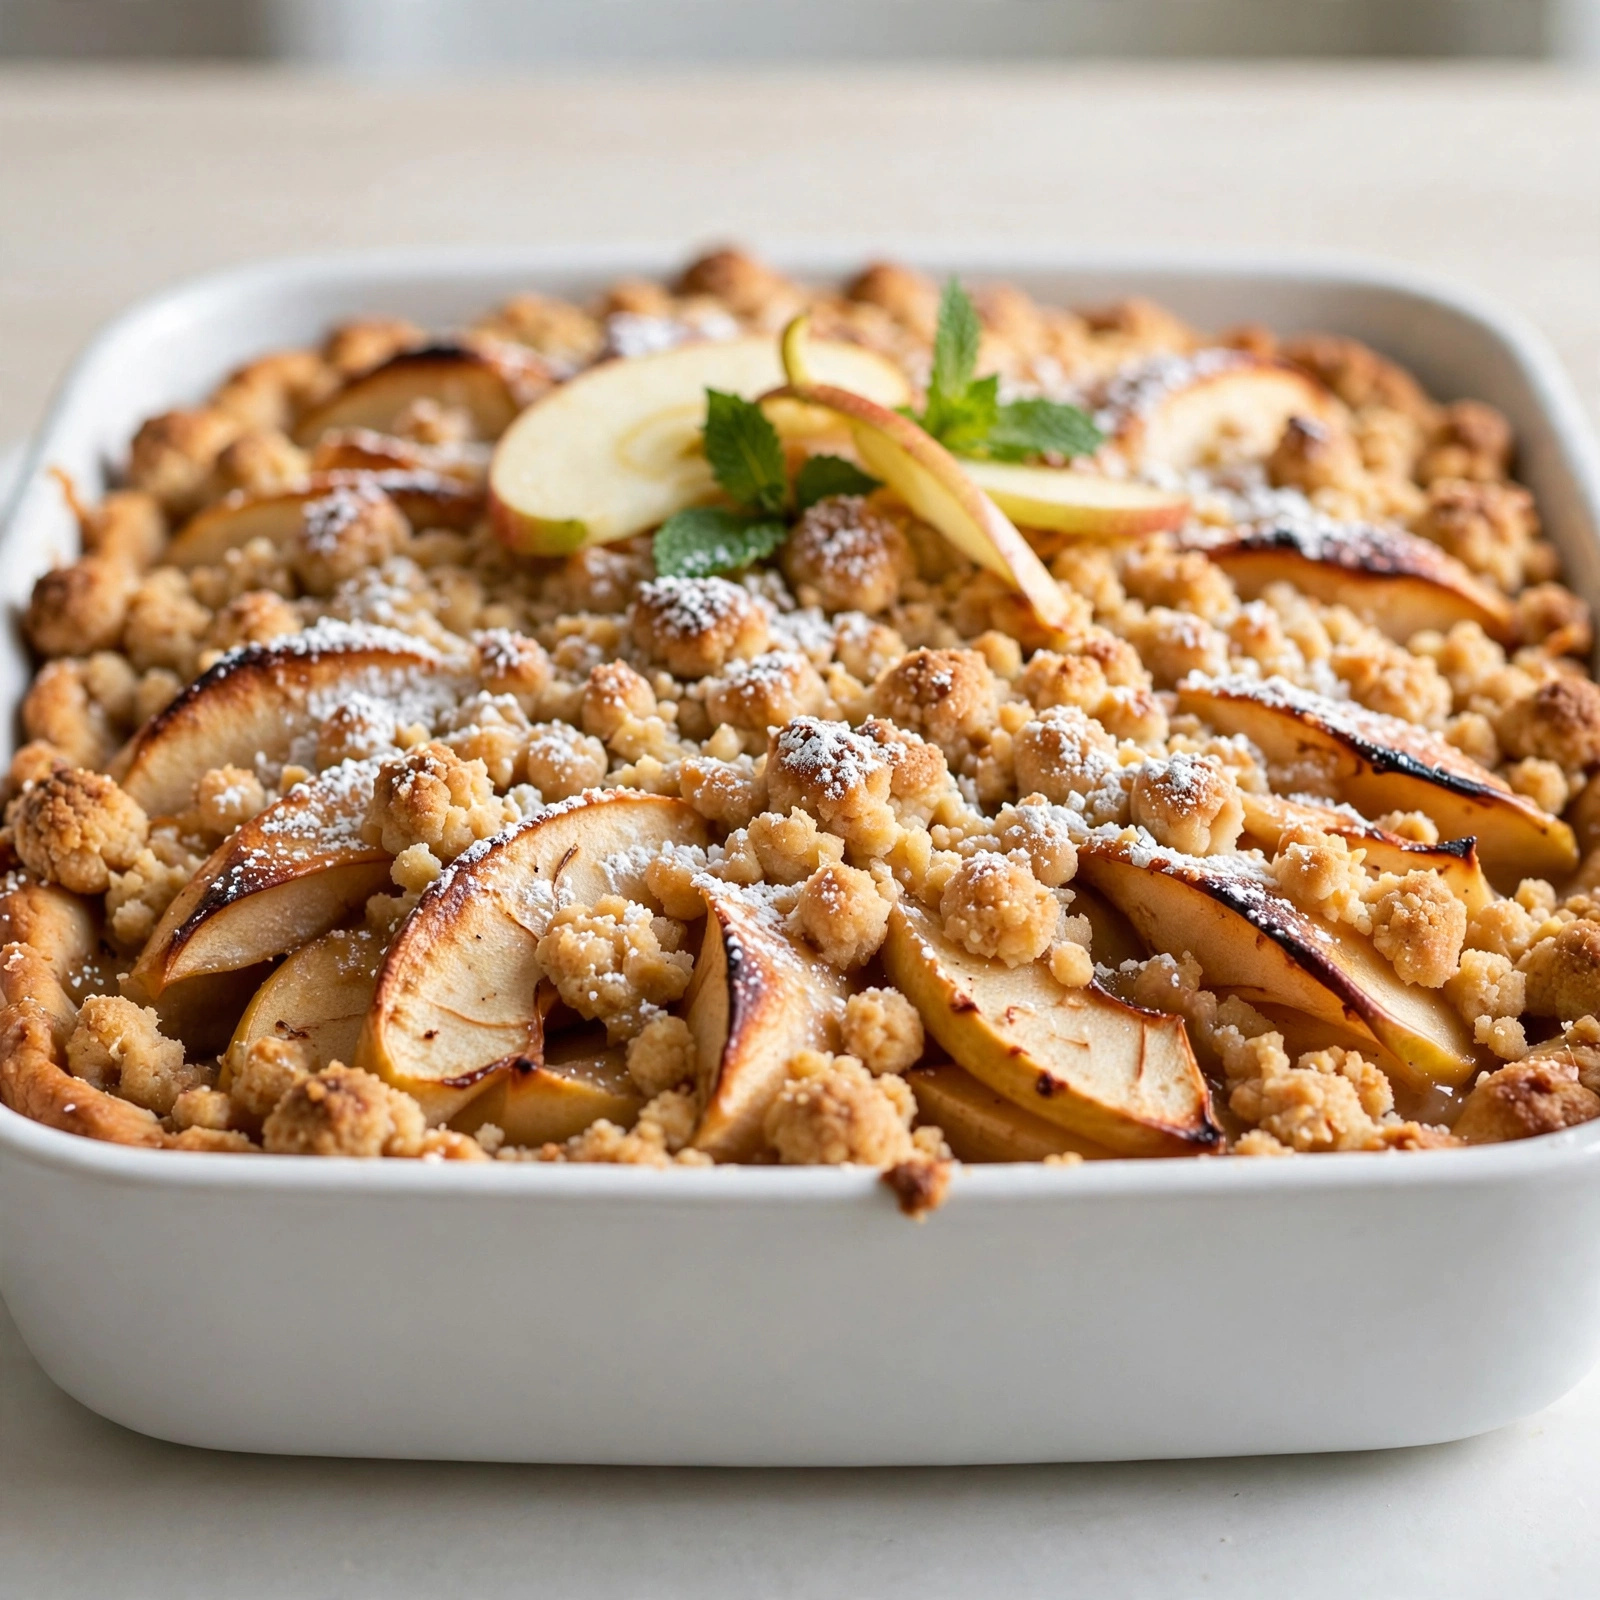
This filling is endlessly versatile. Use it as the star of a classic double crust pie, spoon it into hand pies or turnovers, layer it into a crisp with an oat topping, or simply spoon it warm over vanilla ice cream or morning oatmeal.
To store, let the filling cool completely, then transfer it to an airtight container. It keeps in the refrigerator for up to 5 days, or you can freeze it in a freezer safe bag or container for up to 3 months. This makes it one of the easiest apple filling recipes to prep ahead of a holiday or busy baking weekend.
Chef's Tip: If you plan to freeze the filling for a future pie, slightly undercook the apples by a minute or two, since they will continue to soften once thawed and baked.
However you use it, this homemade filling proves that a little extra effort with fresh apples pays off in the best possible way.